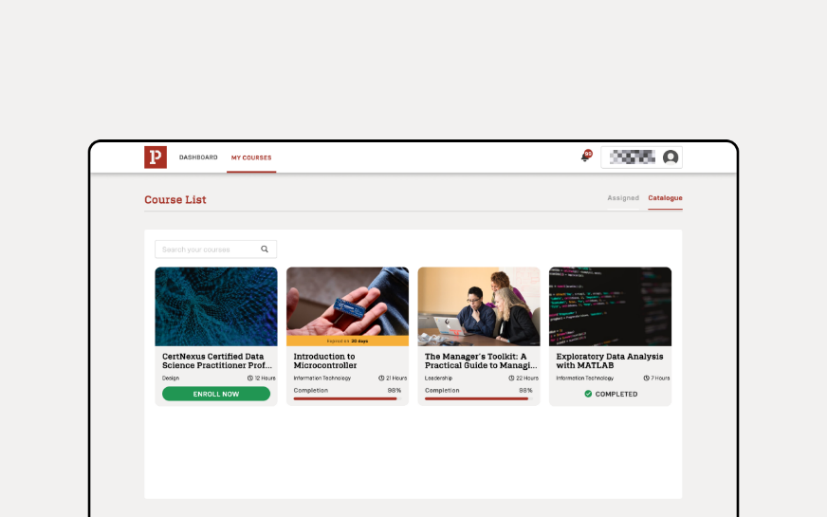
My Course
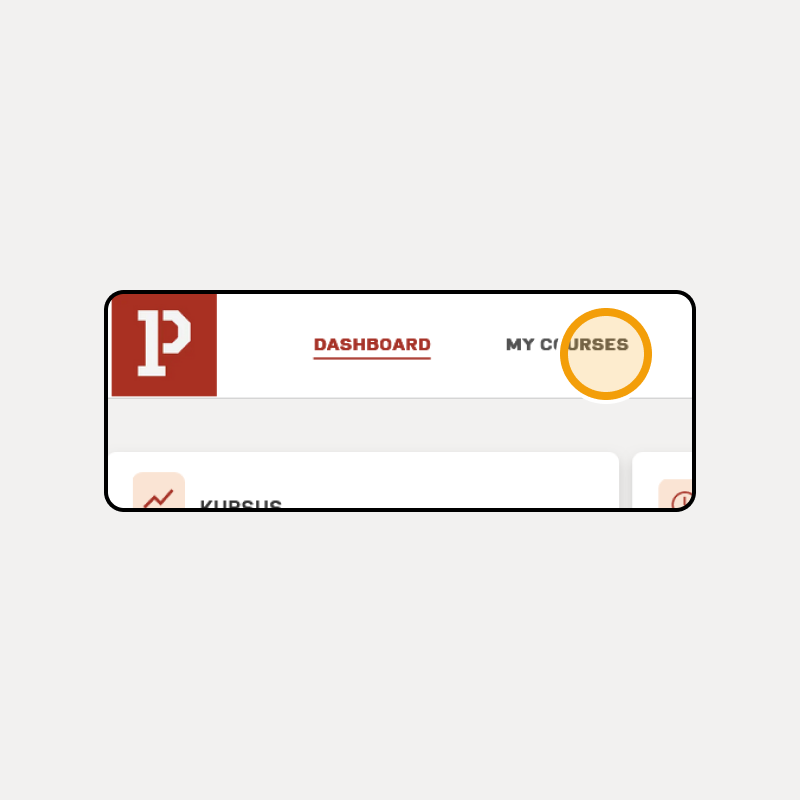
This page is divided into two sections: Assigned and Catalog.
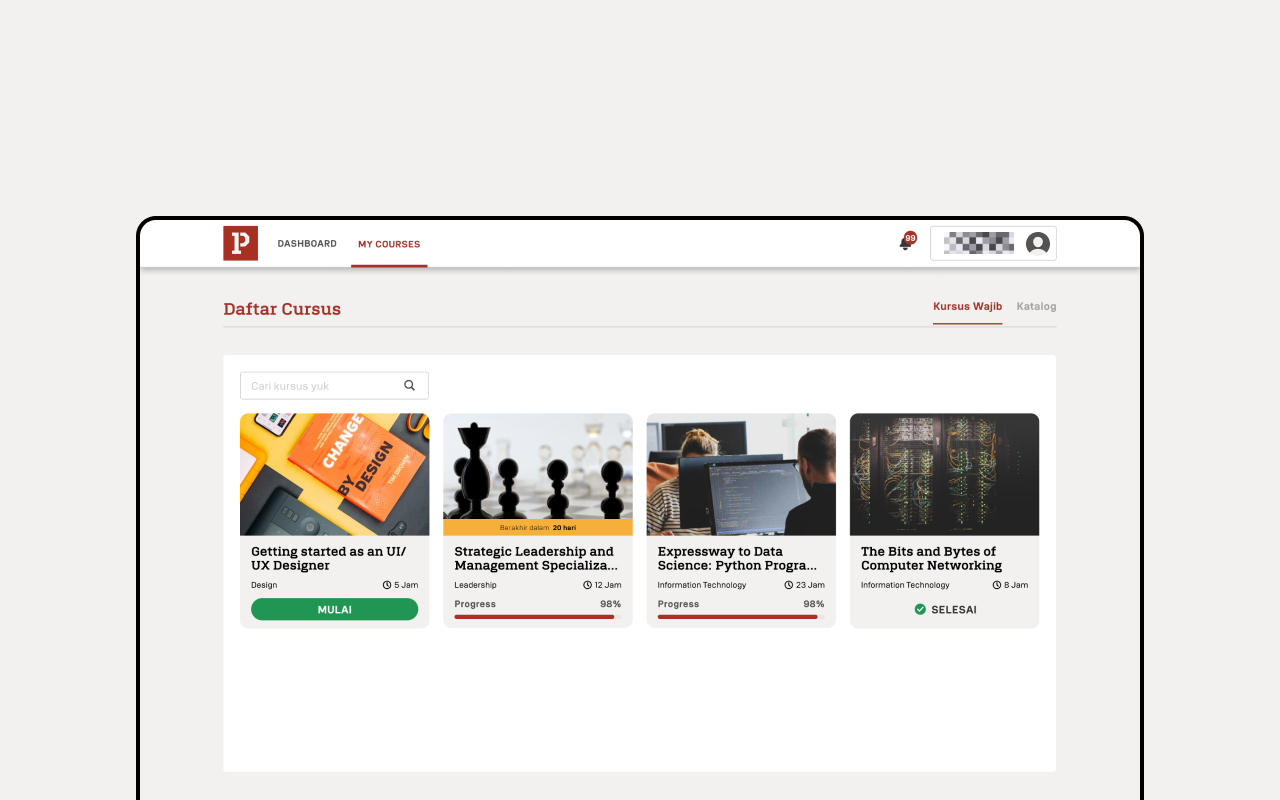
a. Assigned
This section displays courses specifically assigned by the program administrator. You can directly access the class by clicking the "Start" button.
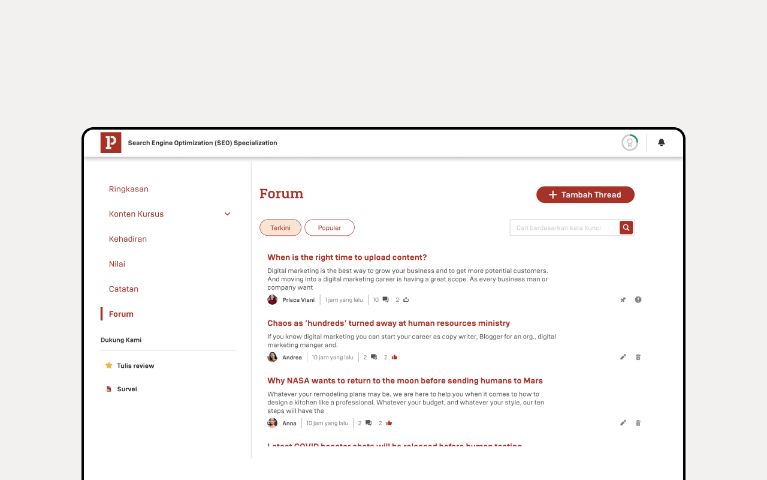
Once inside the class, the interface will appear as shown in the example image. The available menus in the class interface include: Overview, Course Content, Grade, Notes, Forum, Recordings, and Survey.
1. Overview
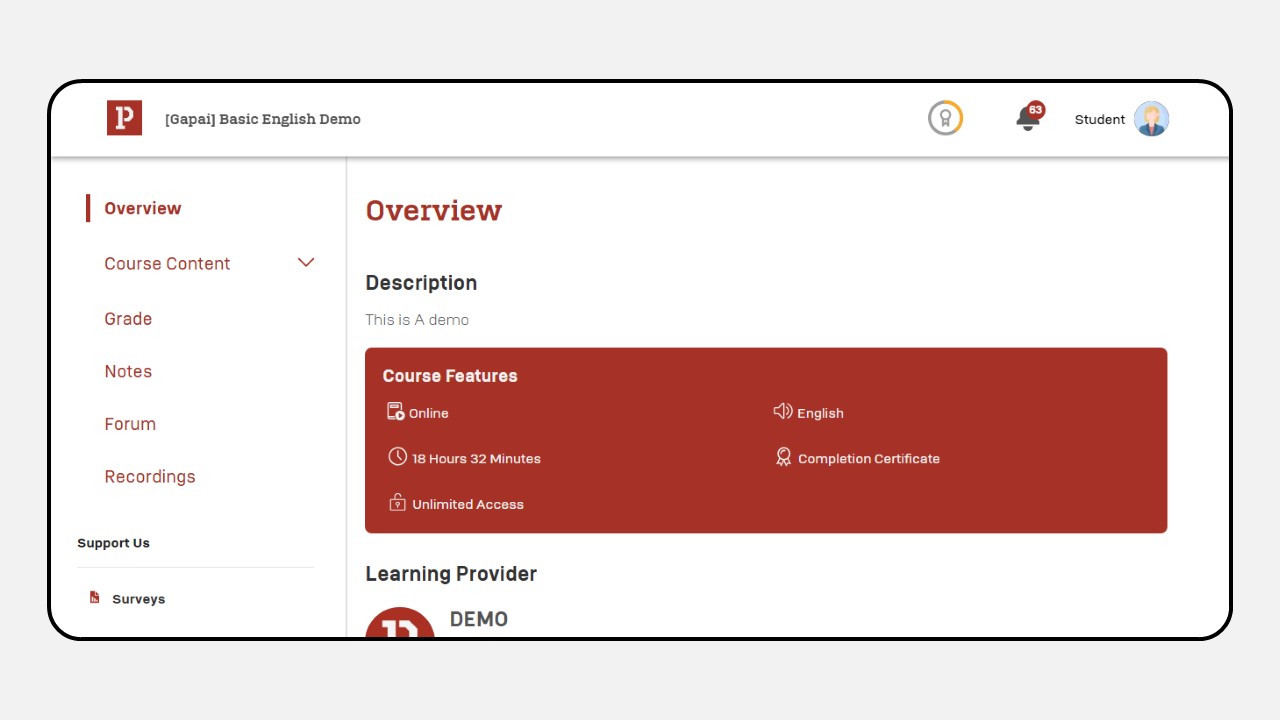
Contains information about the course description and details of the learning provider.
2. Course Content
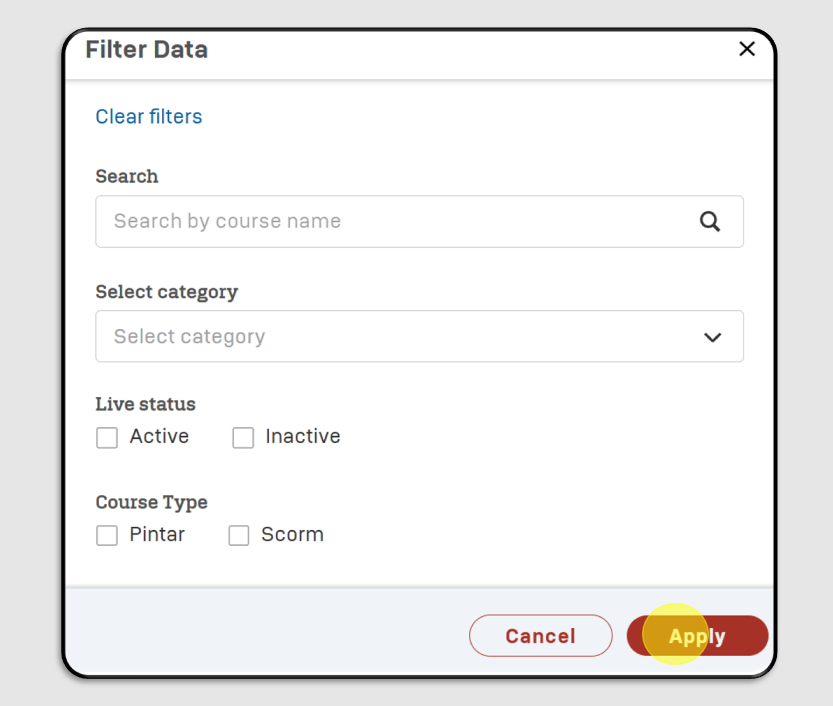
- This section outlines the topics to be covered, divided into multiple sessions
- Each session includes various types of content, such as Articles, Documents, Videos, and Live Sessions. Tasks such as Discussions, Quizzes, and Individual Assignments/Exams are also provided.
Types of Content in Each Session :
a. Video
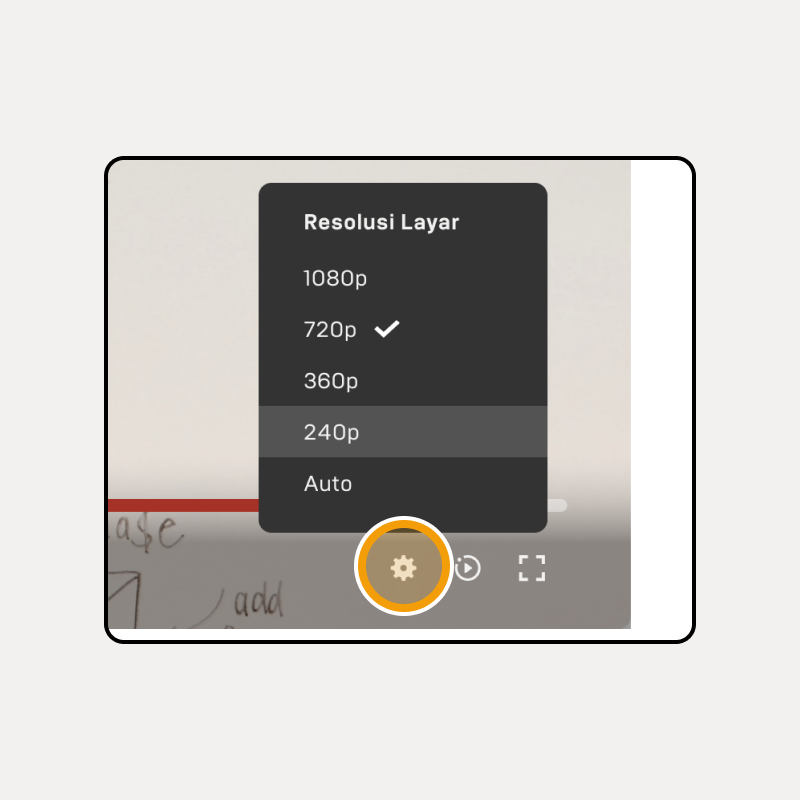
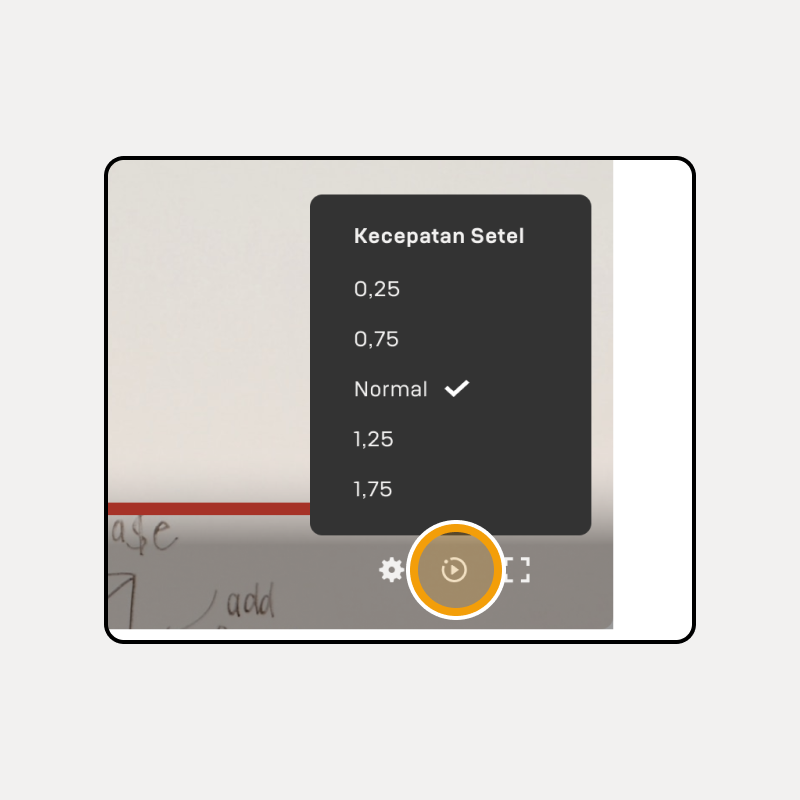
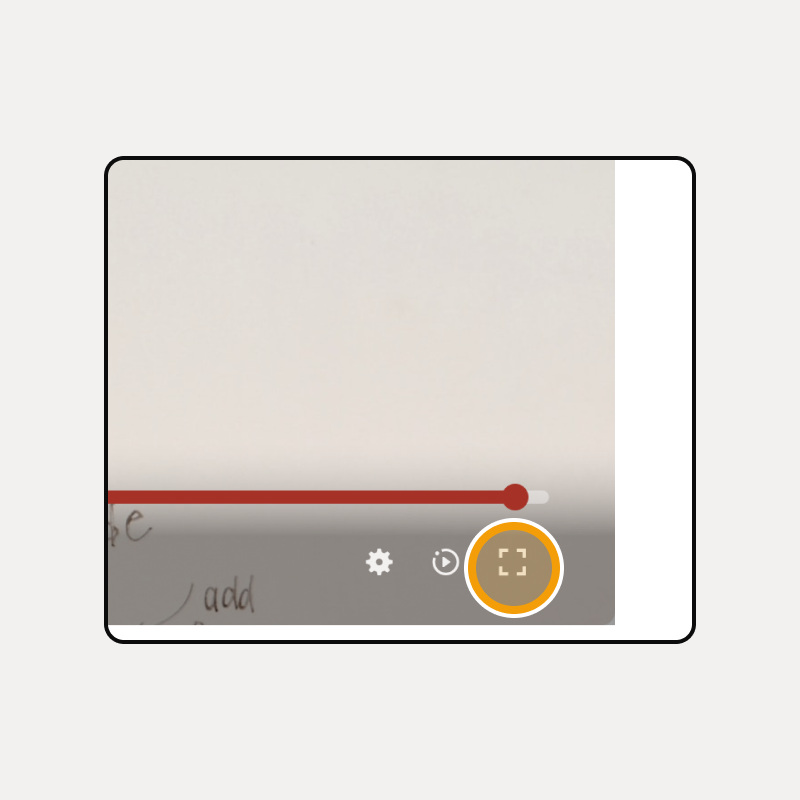
Features video content with options to adjust resolution, playback speed, and fullscreen mode.
Resolution
Adjust video quality via the bottom-right corner.
Playback Speed
Speed up or slow down playback using settings in the bottom-right corner.
Full Screen
Expand the video view for better clarity.
The video content includes Notes and Comments features:
- Notes
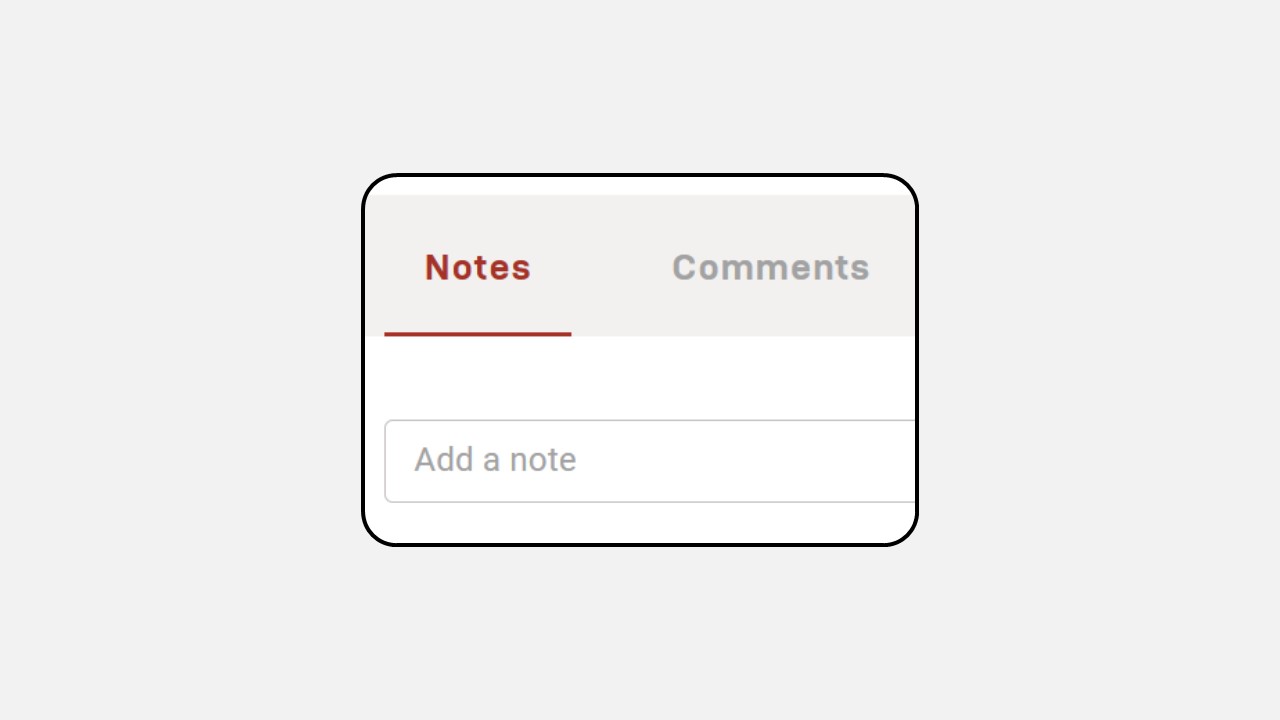
This feature is available for both video and document content. It allows you to take important notes while watching a video, making it easier to revisit and organize your thoughts later.
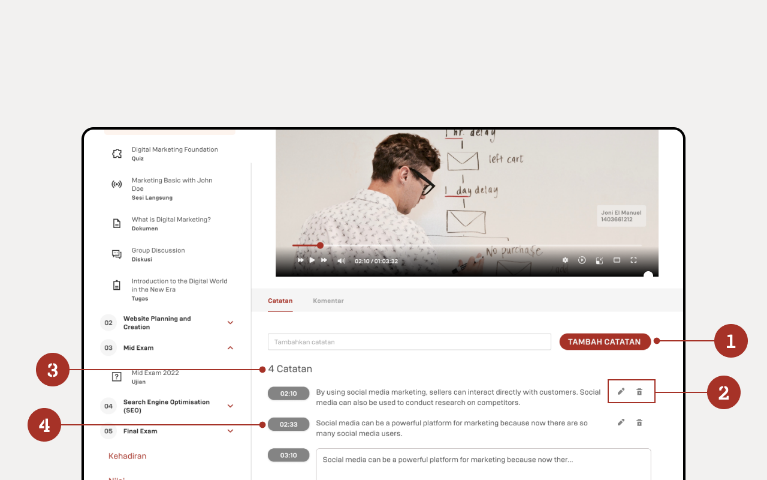
- Add Notes: You can add as many notes as you like in the designated field.
- Edit and Delete Notes: Edit or delete previously saved notes. These notes are private and only visible to you.
- Note Count: View the total number of notes you have created.
- Note Duration: See the timestamp indicating when a note was made.
Comments
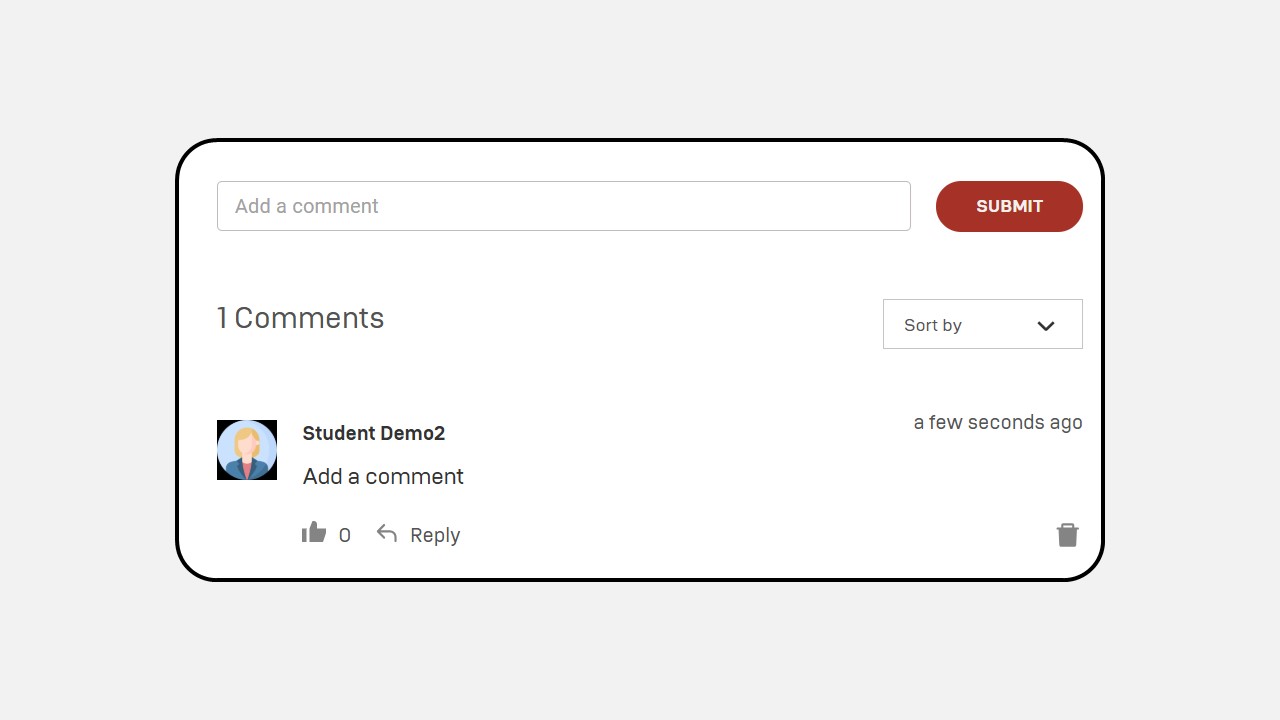
Unlike notes, comments are public and can be viewed and interacted with by all users. Comments allow you to discuss the video content with others, similar to social media platforms. You can also like and reply to comments from other participants.
How to Add a Comment :
Write your comment in the Add comment field
Click the Submit button
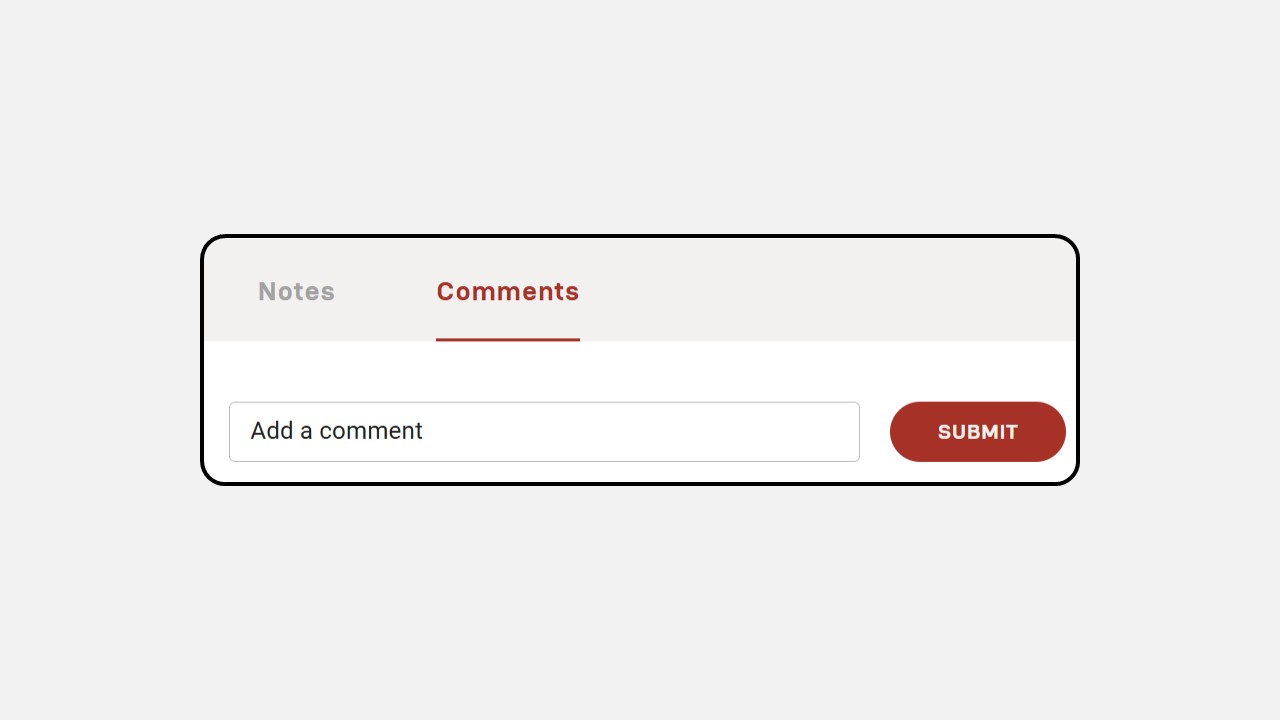
- Your comment will appear in the comment section.
b. Quiz
The Quiz section requires you to answer a set of questions. It displays the number of questions, duration, number of attempts allowed, and minimum score required.
How to answer a Quiz :
- Click the Start Quiz button
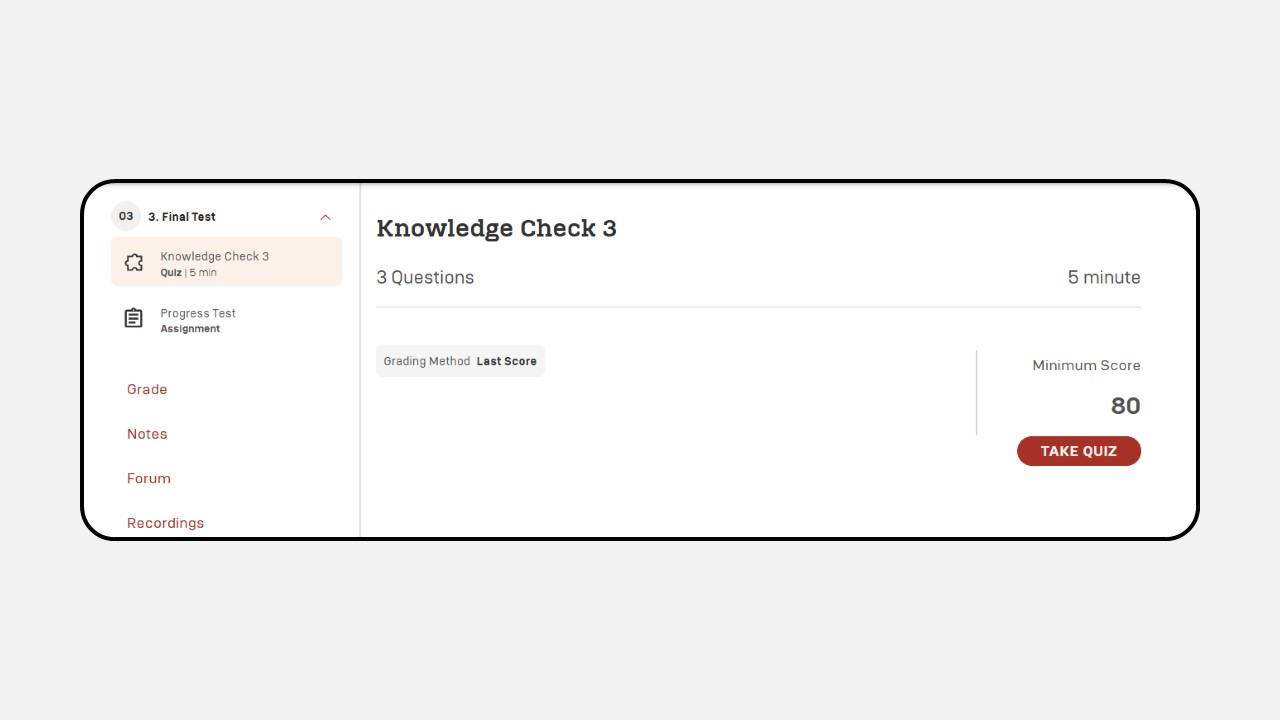
- A quiz interface will appear with
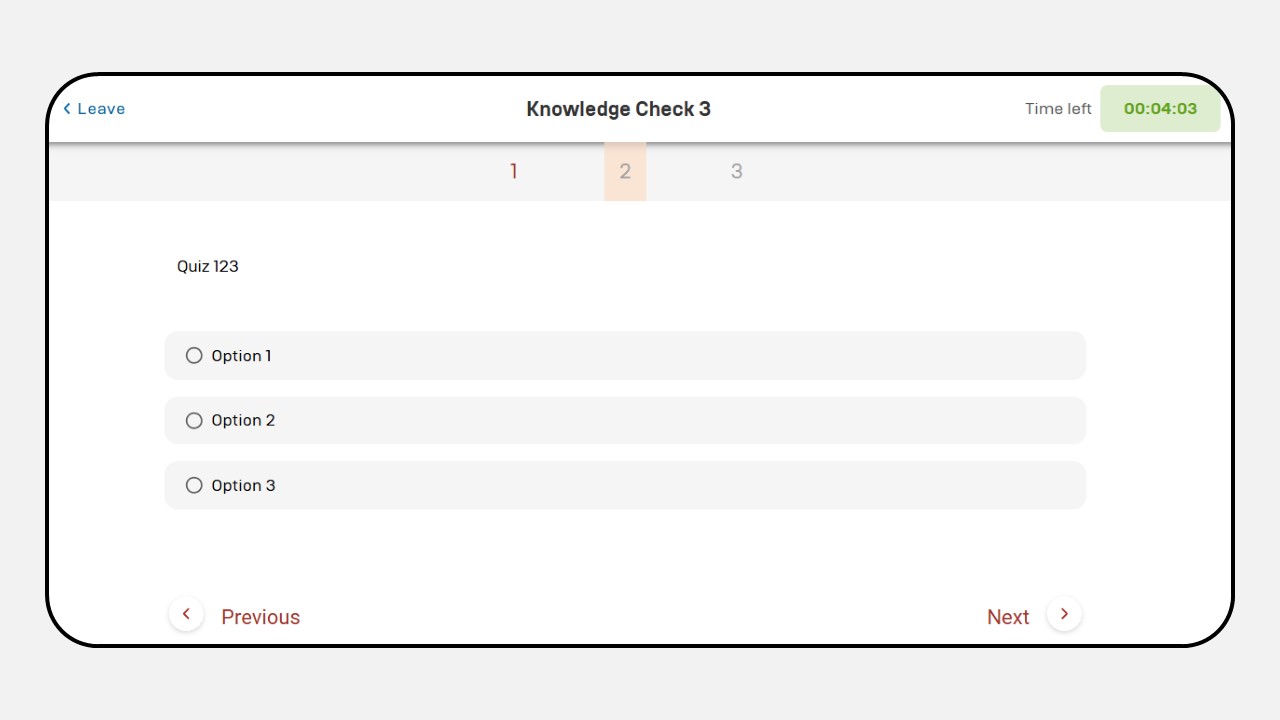
- A Timer (top-right corner) showing the duration allowed.
- Back and Next buttons (bottom-left and bottom-right) to navigate between questions.
- In the bottom-right corner, there is a Next button that you can use to navigate to the next question.
- After answering all the questions in the quiz, a review screen will appear as shown in the example image.
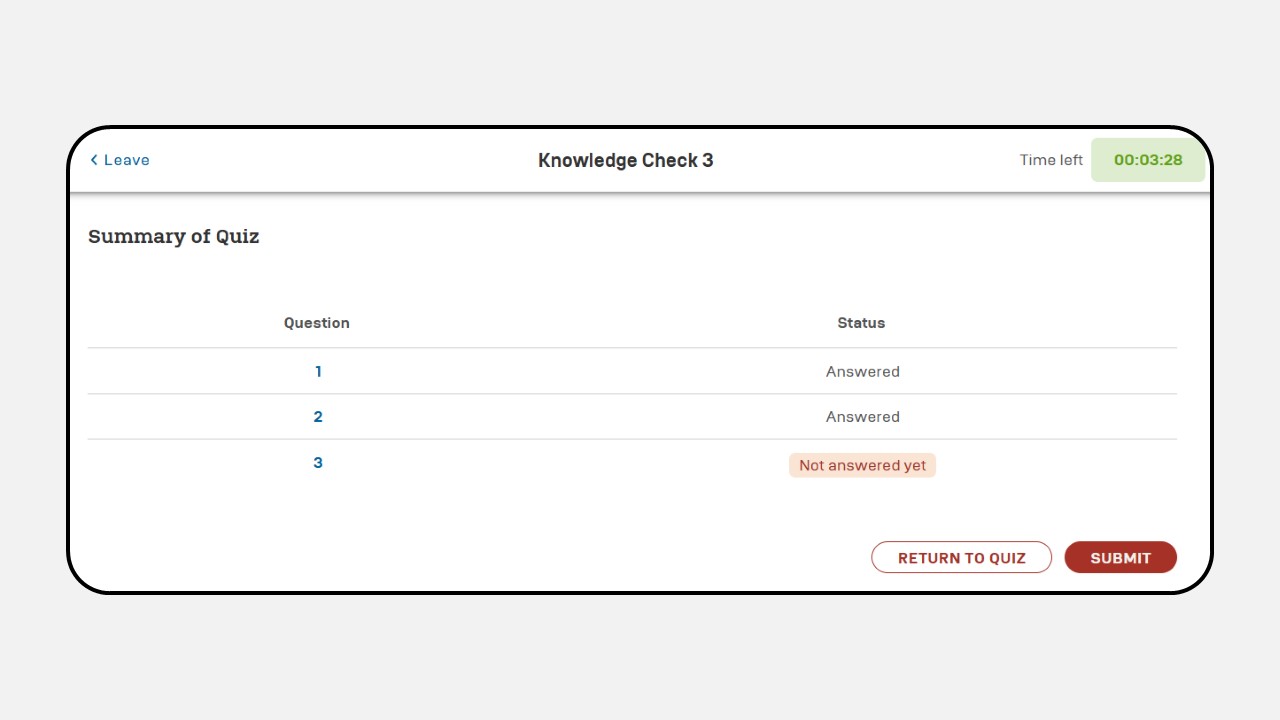
In the bottom-left corner, you can use the Back button to revise your answers if necessary. Once you are confident and sure of your answers, click the Submit button.
- After clicking Submit, a Final Submission pop-up will appear. Here, you are encouraged to double-check your answers. If you are certain, click the Send button to finalize your submission.
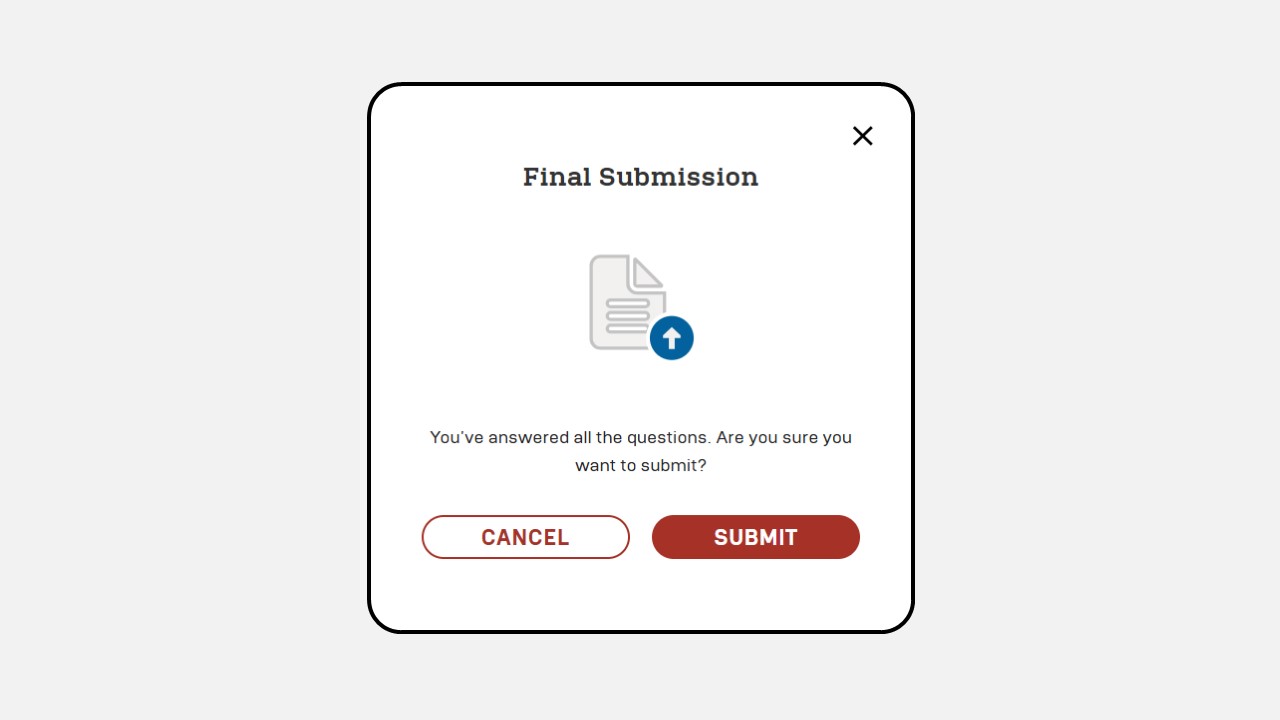
- Your score will be displayed after submission.
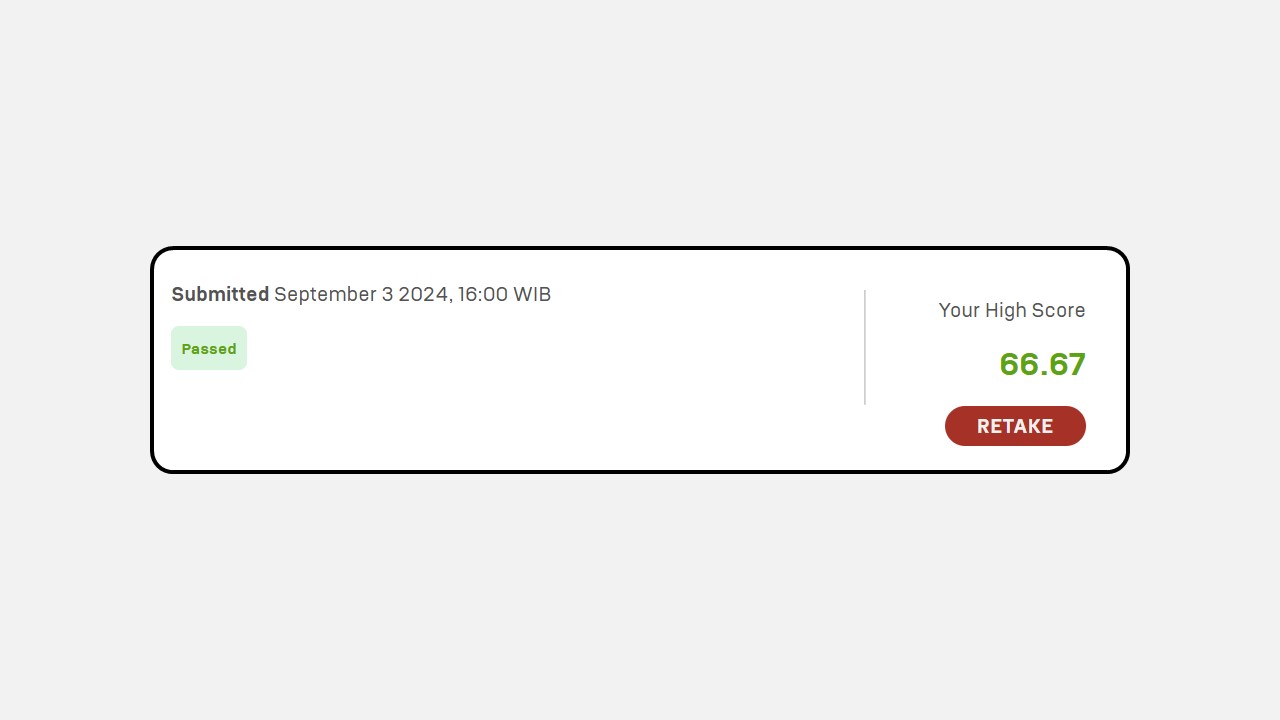
6. If the Retake button is available, you can attempt the quiz again until the maximum attempts are reached.
- You can also review your answers by clicking Review Answers. However, if you click Review Answers while there are remaining attempts available, the remaining attempts will automatically reset to zero.
NOTE : Each time you click Take Quiz or Retake Quiz, the number of attempts will automatically decrease. Even if you do not complete all the quiz questions or exit the quiz page without finishing, the number of attempts will still be deducted.
c. Live Session
The Live Session section enables real-time interactions with instructors via Jitsi, scheduled according to the class timetable.
How to Join a Live Session :
Go to the Live Session menu
Click the Join button
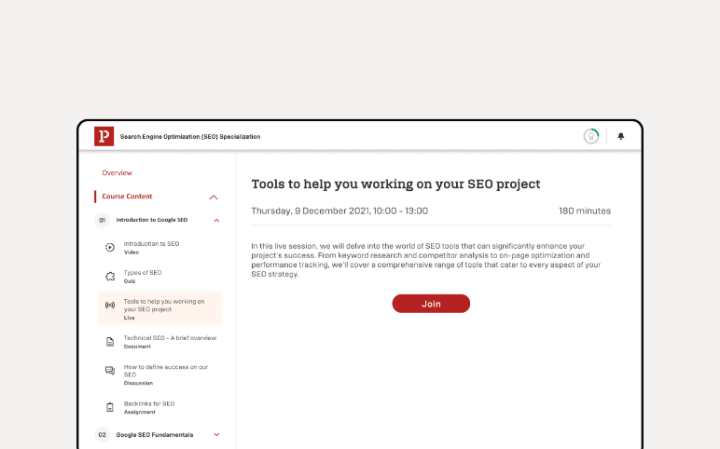
- You will be redirected to the Jitsi interface, where you can participate in the session.
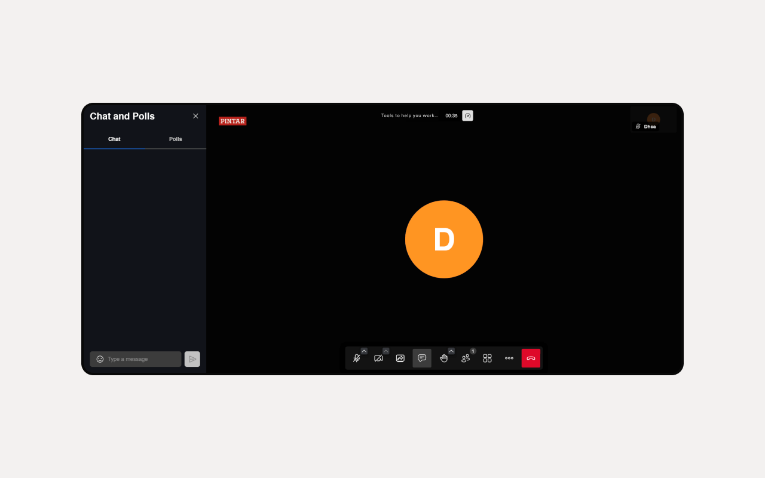
- You are now able to conduct a Live Session
d. Document
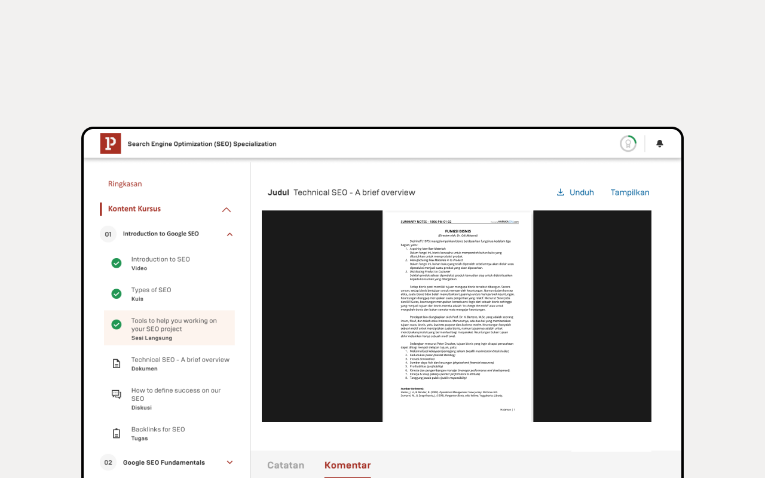
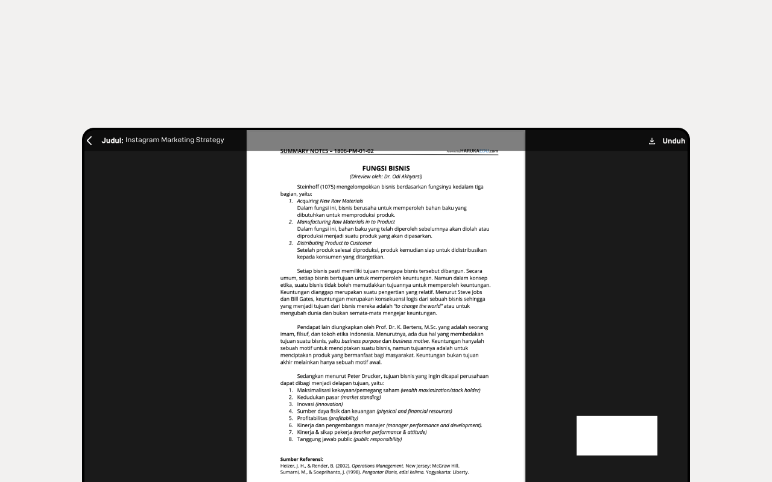
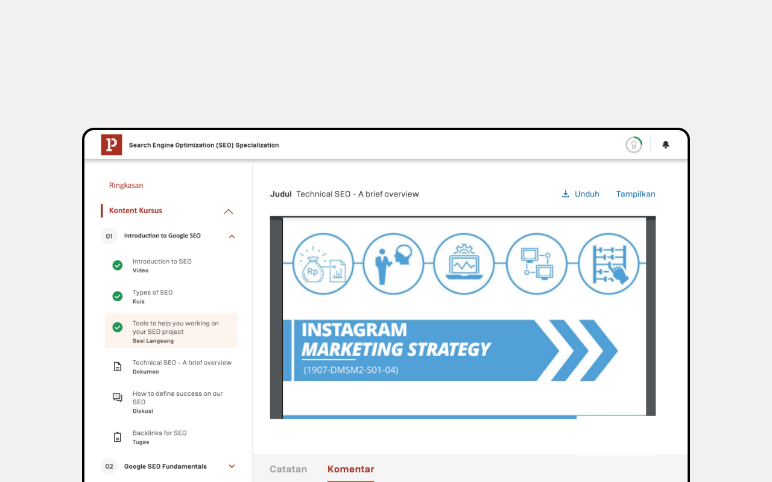
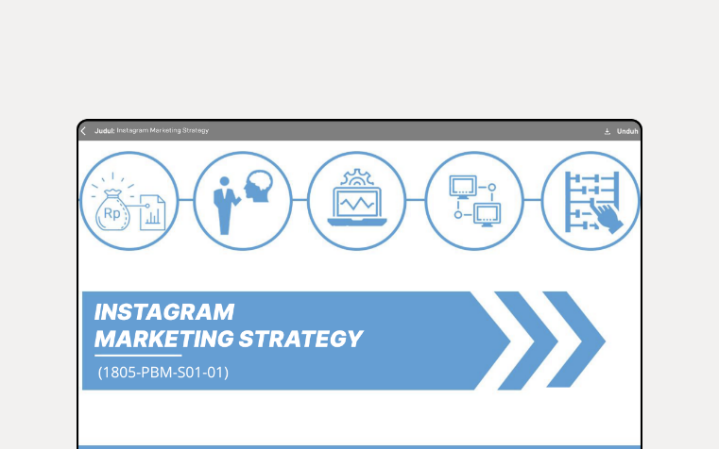
In this section, you will find materials in the form of documents such as PDF or PPT files. These materials can be viewed in full screen and downloaded if you prefer to read the training materials without accessing the LMS. This document feature also includes a Notes and Comments section, similar to the previous Video content.
Material in PDF format
- Material in PPT Format
e. Discussion
In this section, there are discussion questions provided by the Instructor that you can work on and respond to.
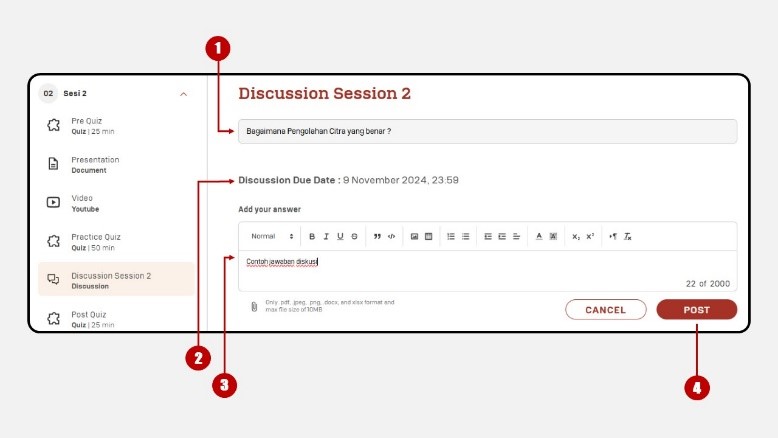
- Contains Discussion Questions
- Includes a Due Date/Deadline for students to submit their answers
- You can provide your answers to the discussion questions in the "Add your answer" field.
- Once answered, you can submit your response by clicking the "Post" button
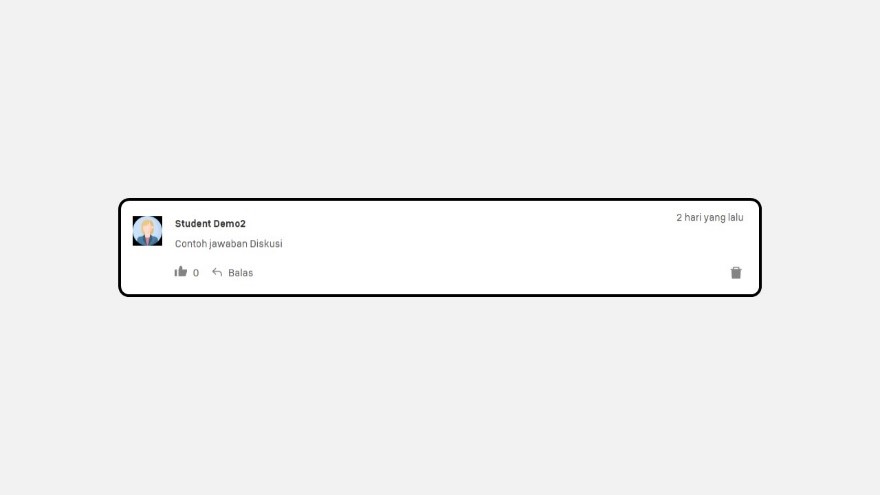
- Submitted answers will appear in the Discussion menu as shown in the example below.
f. Assignment
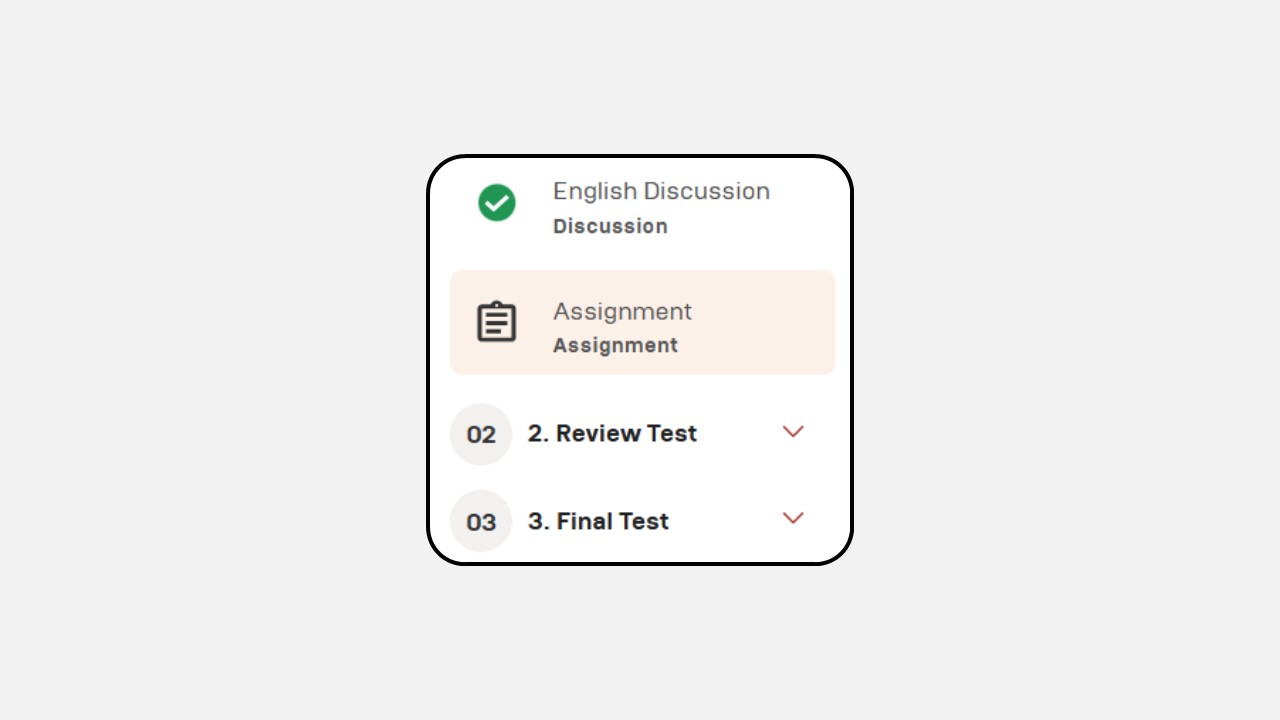
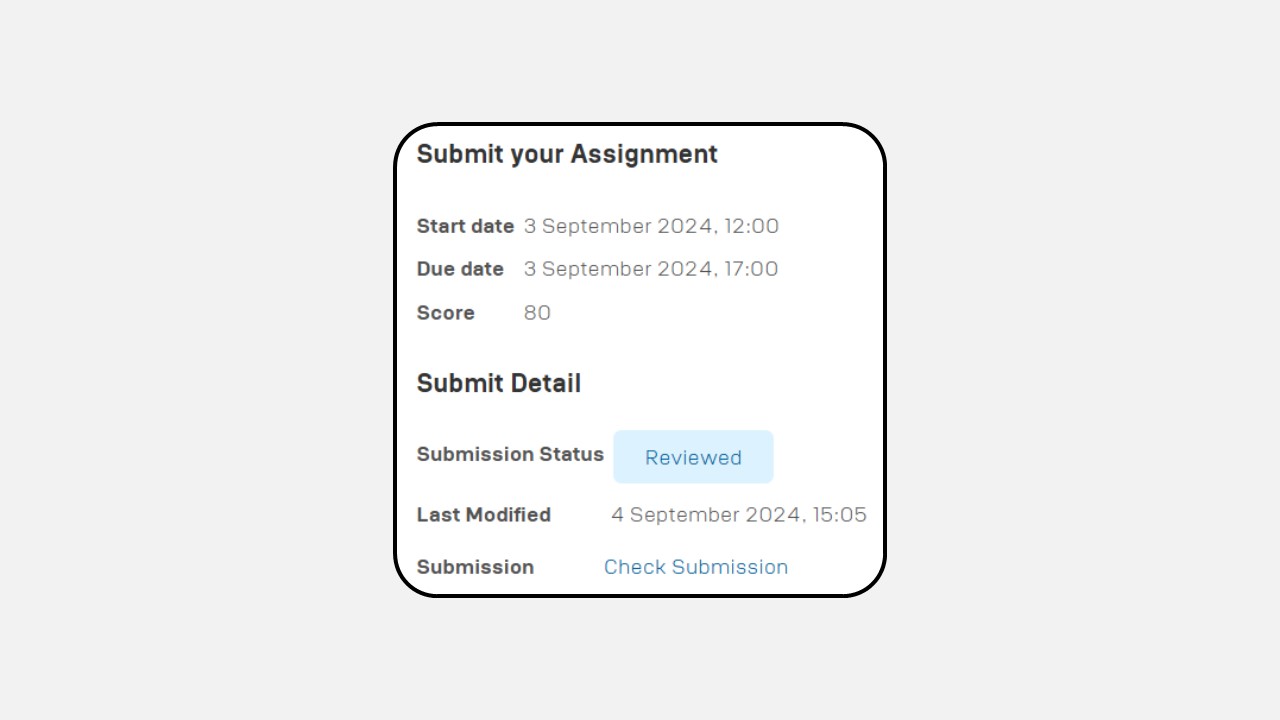
This section displays the assignments that need to be completed. It includes details such as the assignment question, Start Date, Due Date, and Completion Status.
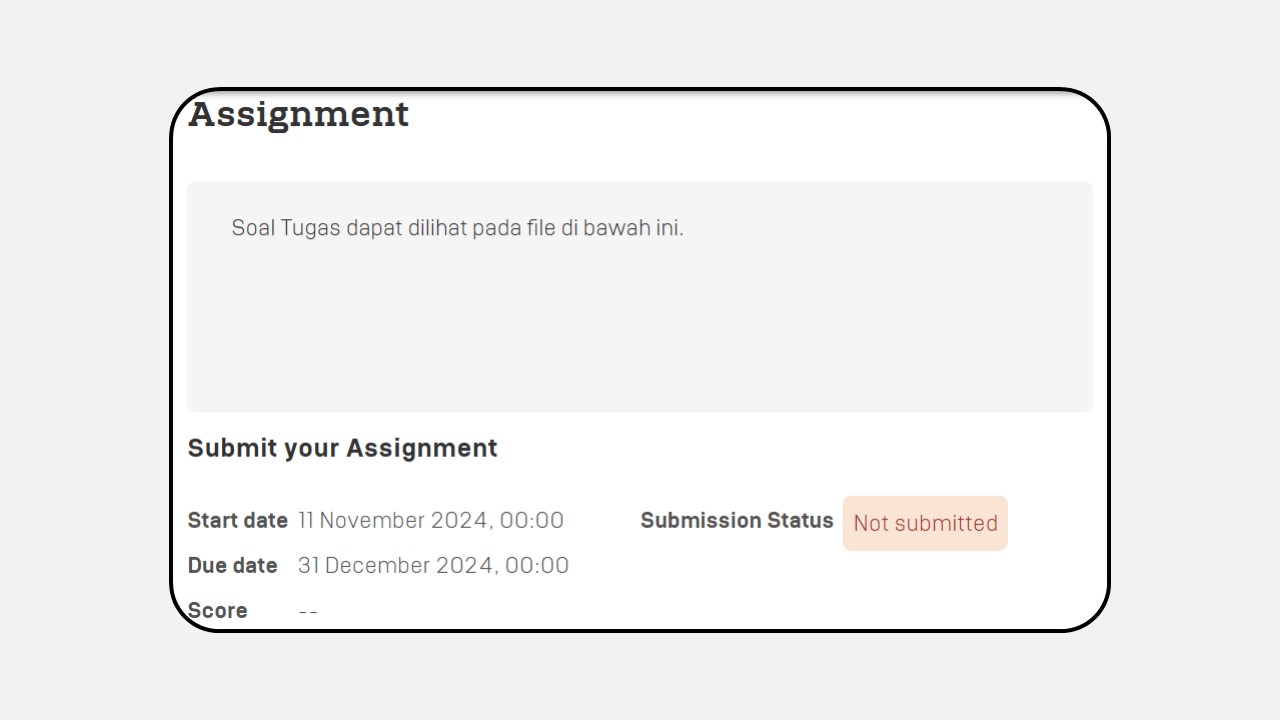
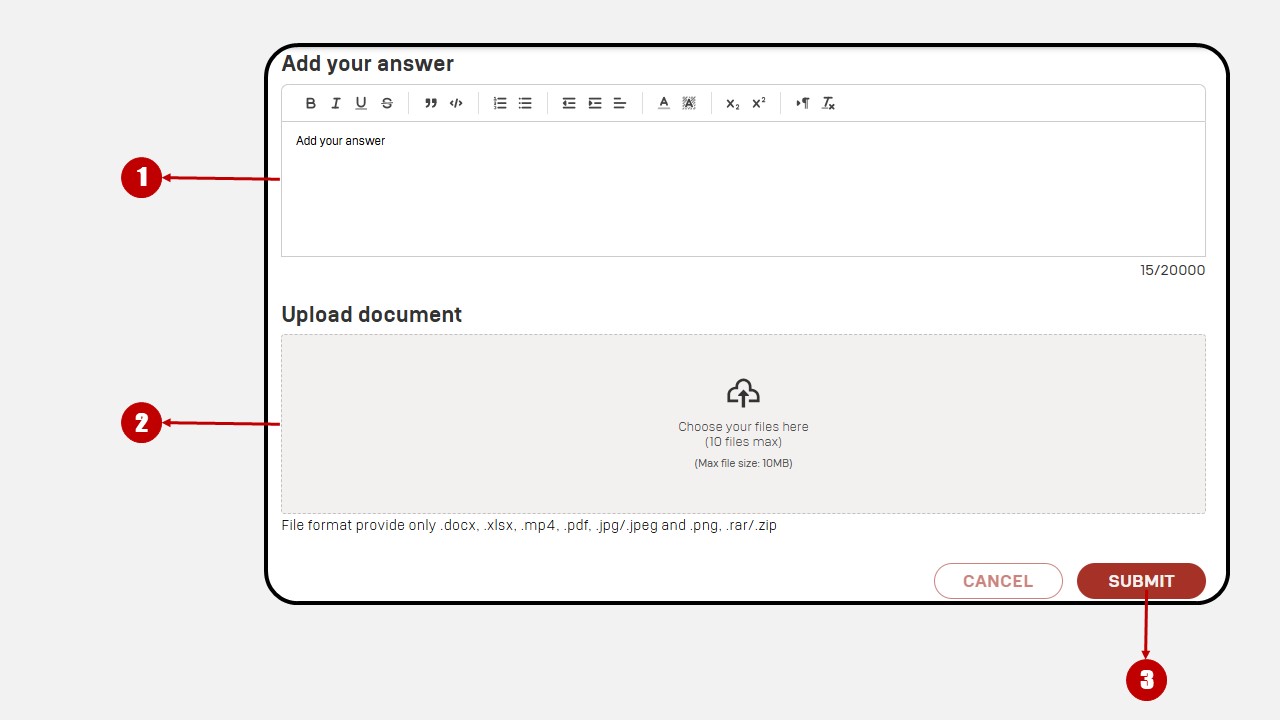
How to submit an Assignment :
Answer in text form via the Add Answer field
Or you can upload a document using the Upload Document button
Once completed, click Submit
Submitted answers, along with their grades, will appear in the assignment interface
- If the deadline has not passed and the assignment has not been graded, you can revise your answer using the "Edit Answer" button.
3. Grades
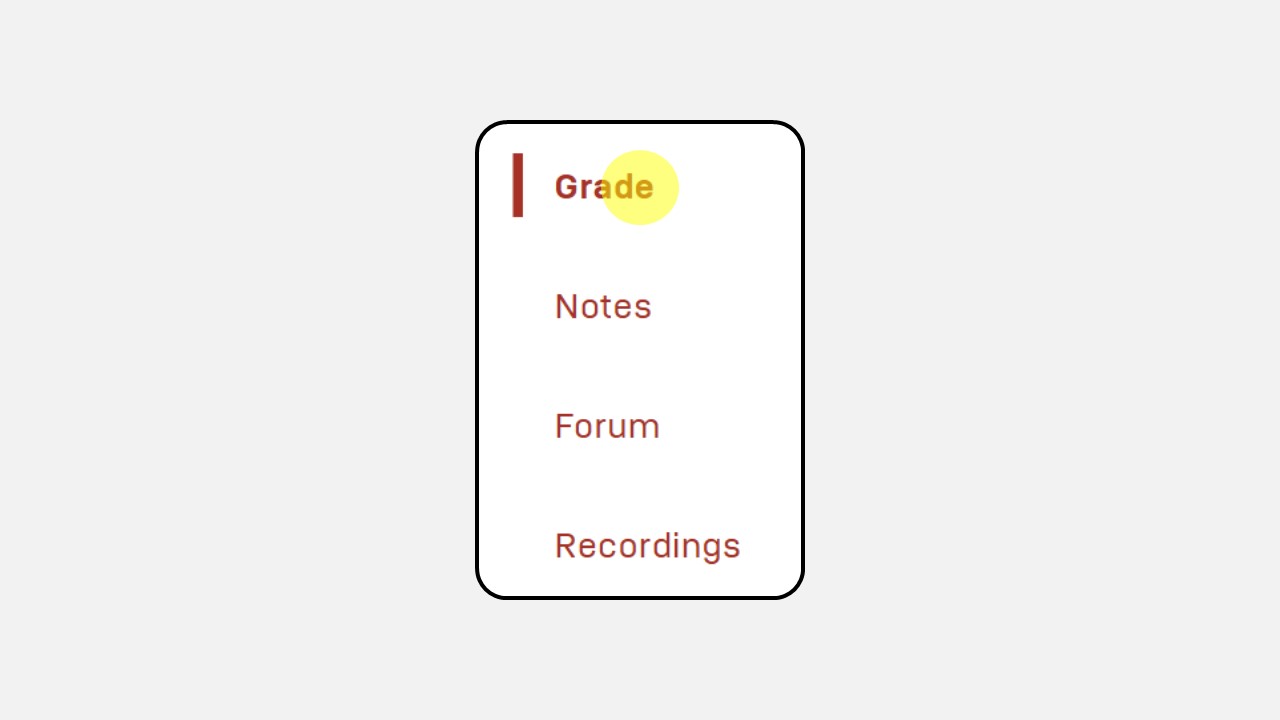
The Grades menu shows final grades, rankings, and grade components.
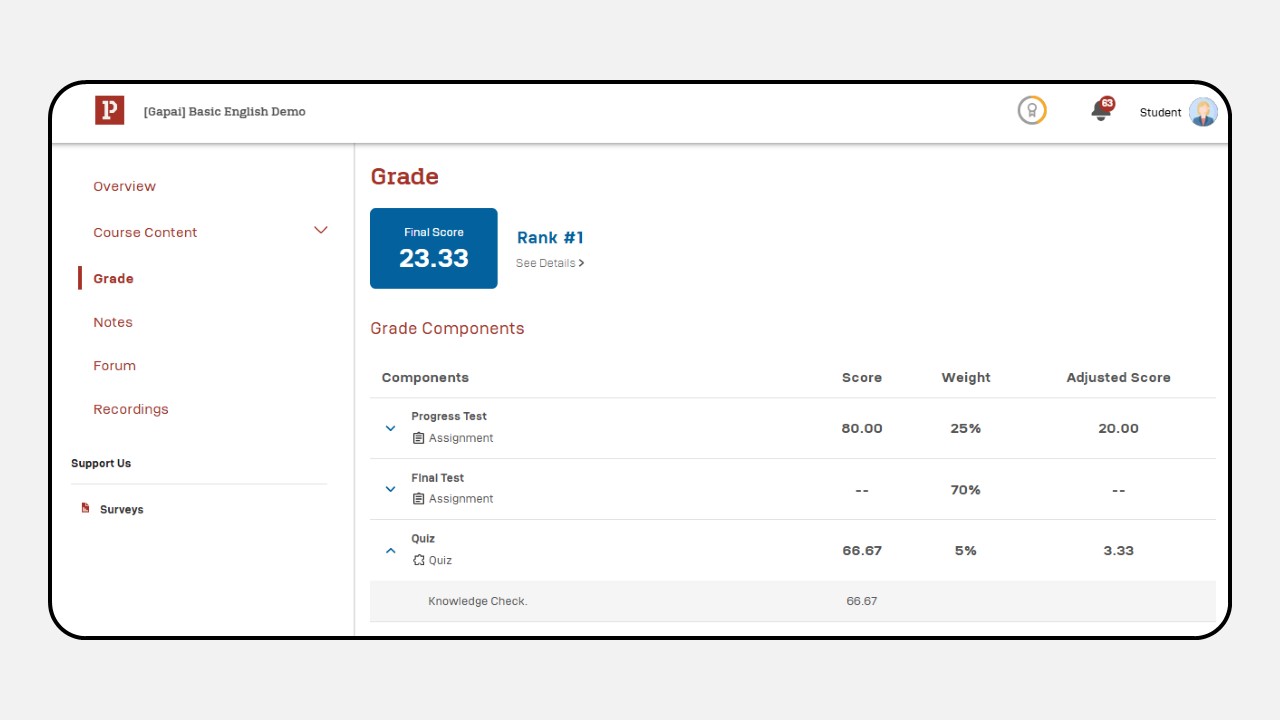
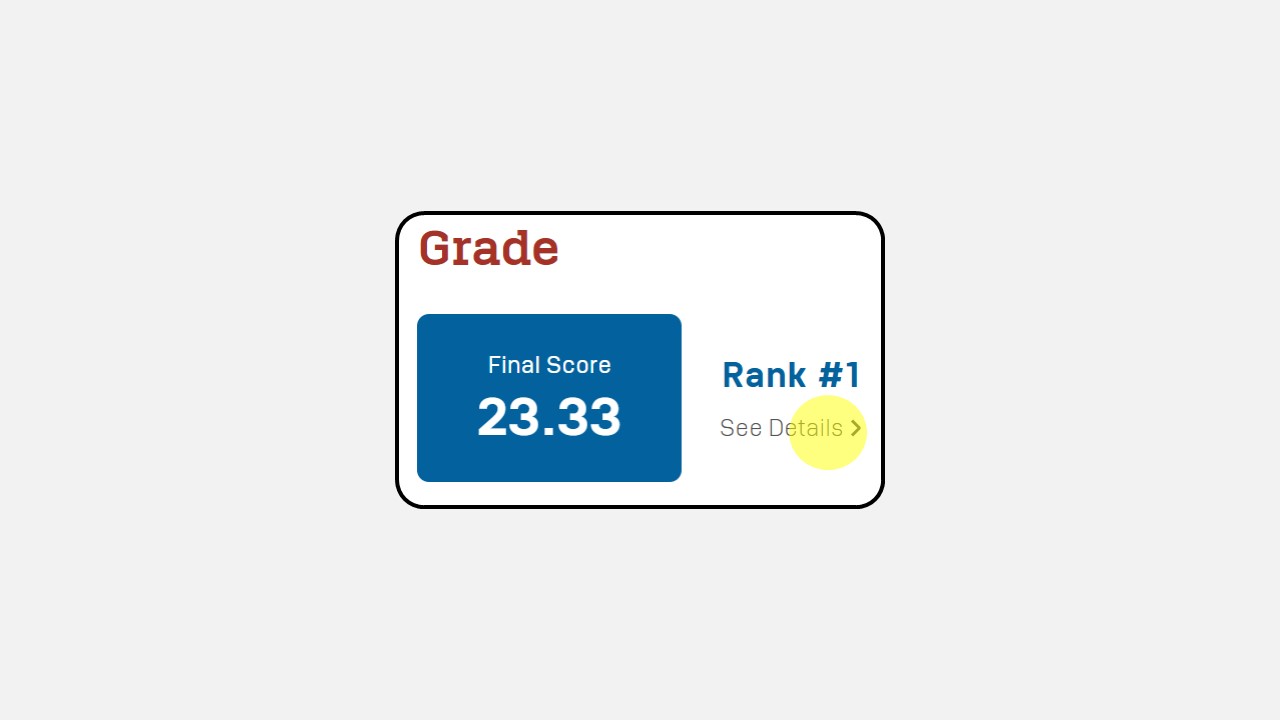
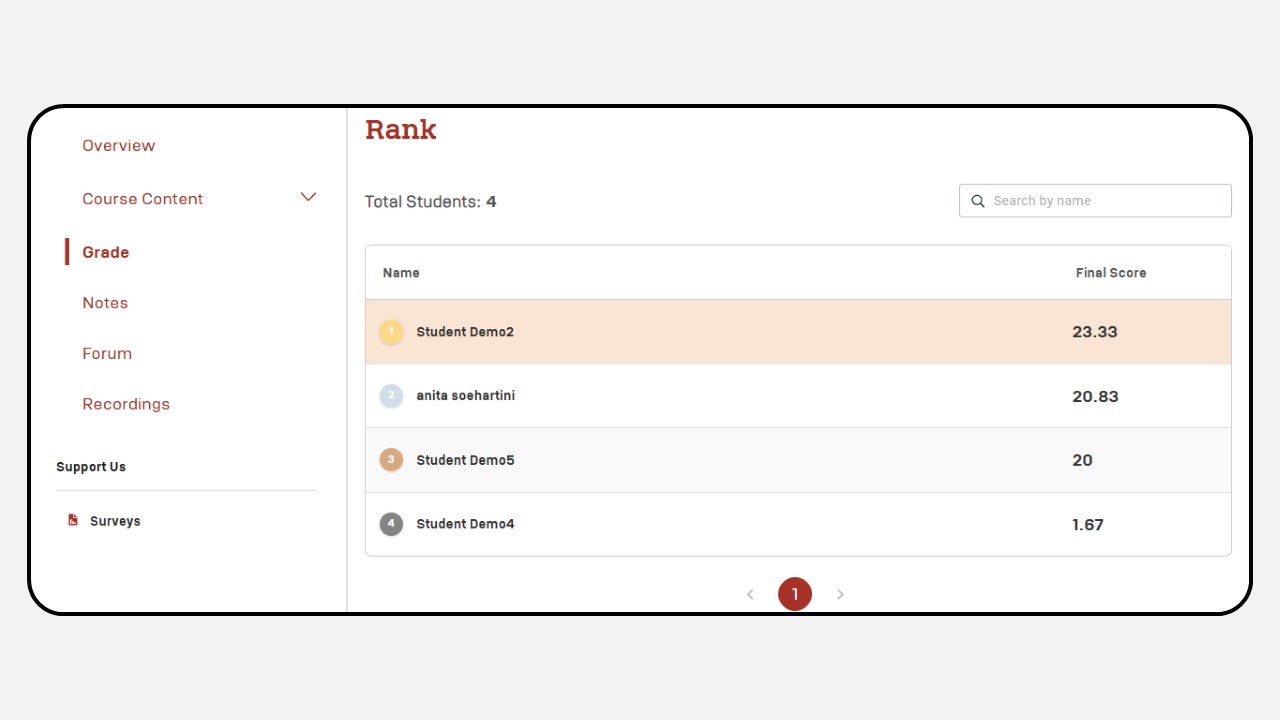
View detailed rankings by clicking "See Details"
You can also Filter rankings by name using the "Search by Name" feature
4. Notes
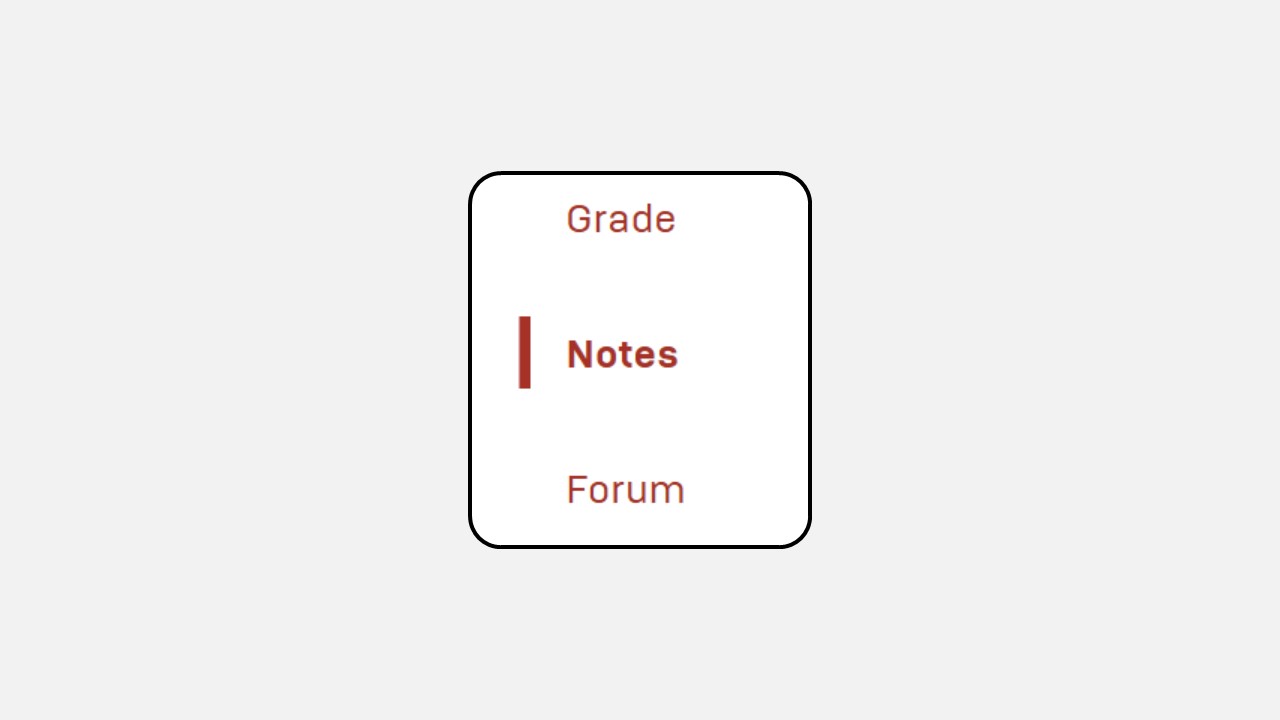
The Notes section contains notes you have recorded from the Video or Document content.You can revisit and study the notes you’ve created (as shown in the example).
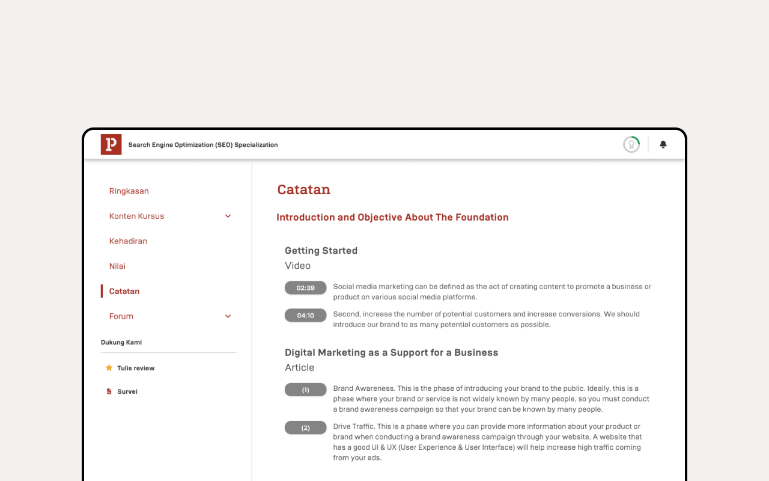
5. Forum
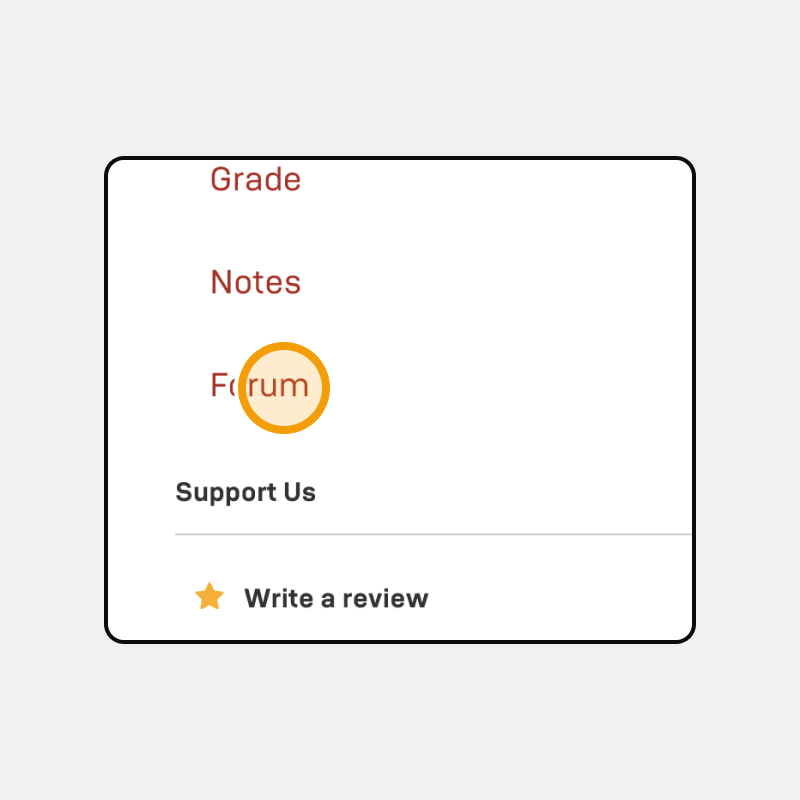
The Forum menu serves as a platform for instructors and participants to discuss the class.
How to Create a Forum Thread :
- Click + Add Thread in the top-right corner
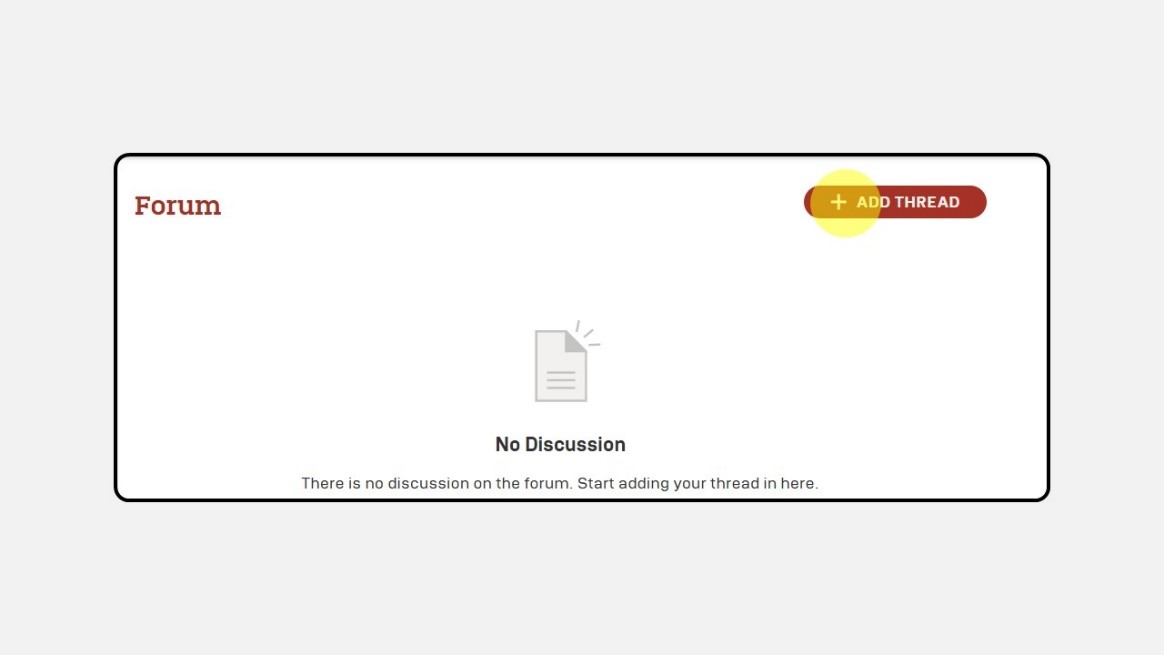
- A form will appear as shown in the example
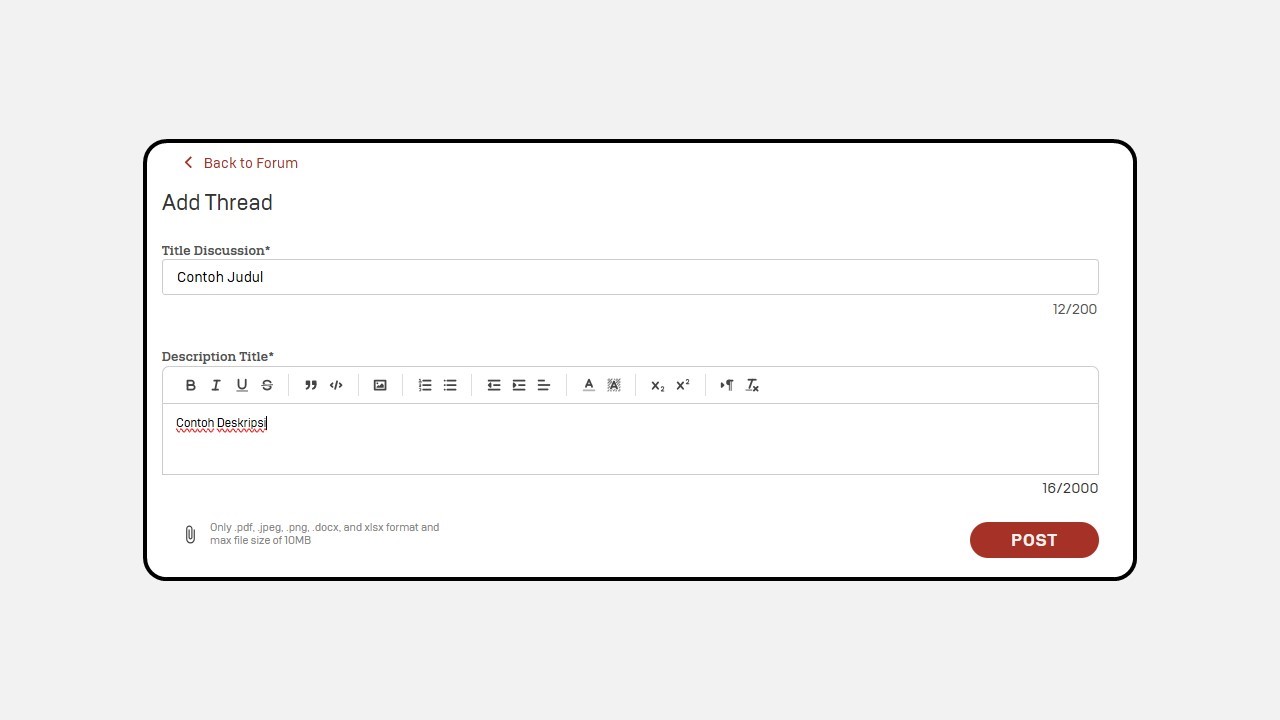
Enter a Title and Description.
Click the Submit button in the bottom-right corner.
Once submitted, your thread will appear in the Forum menu, as shown in the example.
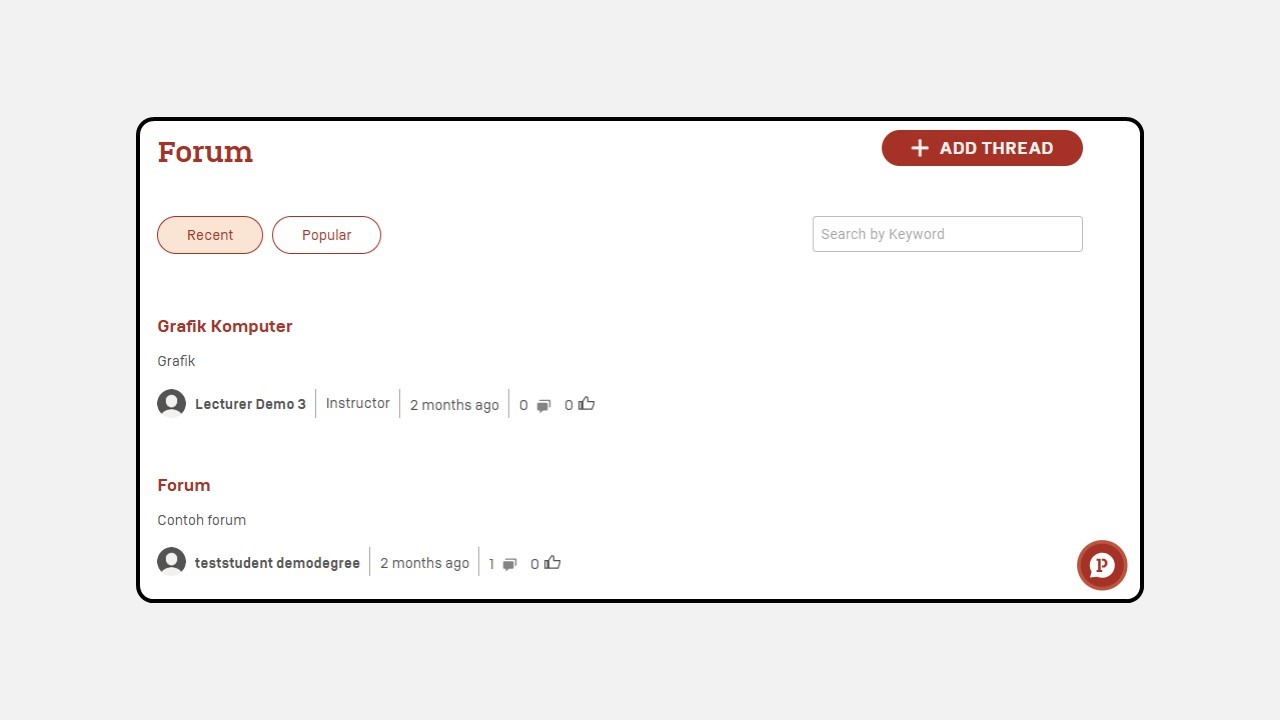
Threads you create can be commented on by classmates and instructors, and vice versa.
6. Recordings
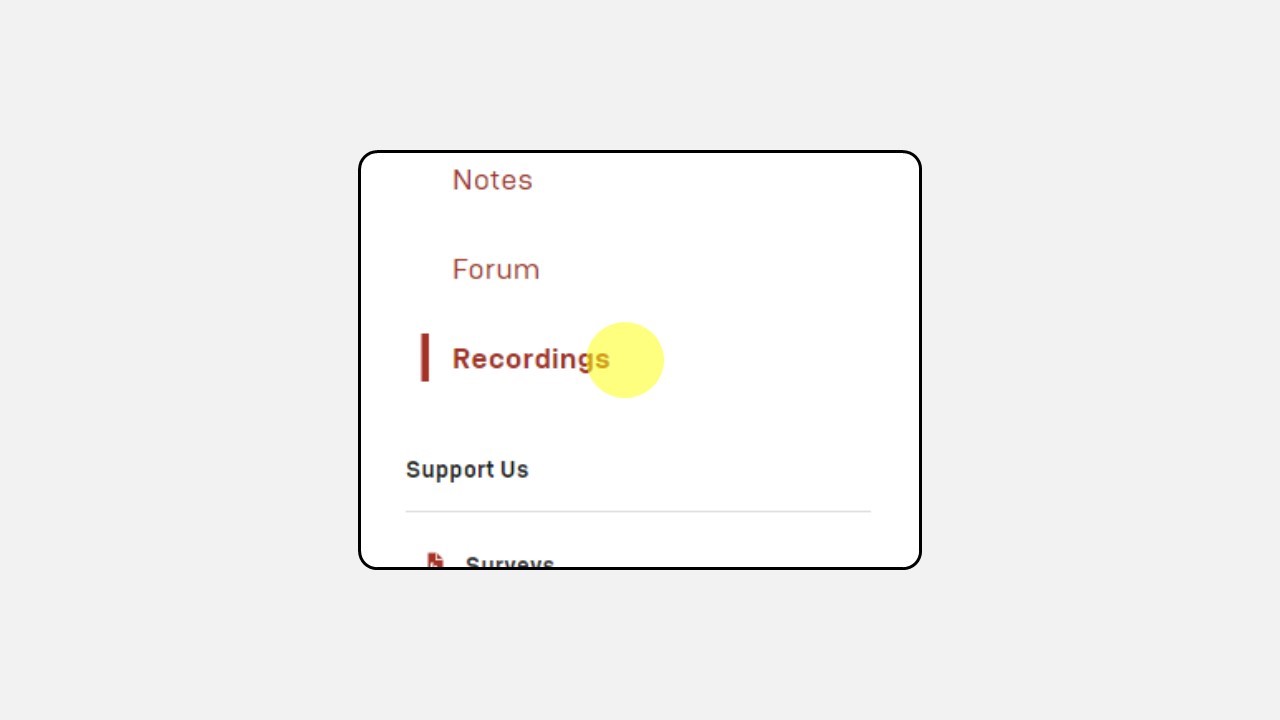
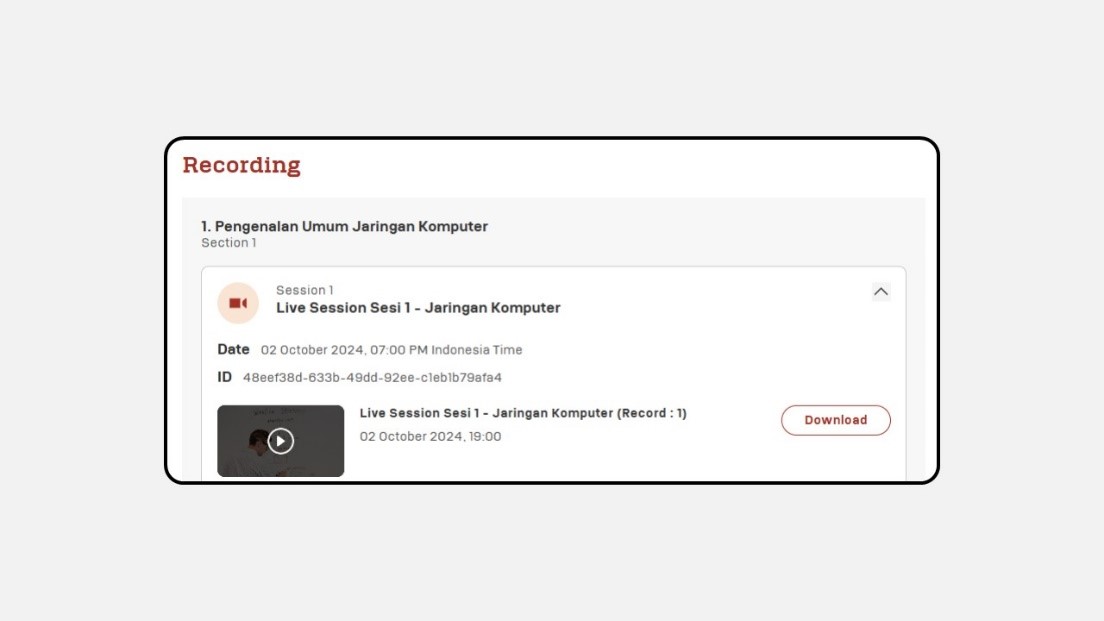
This section allows you to access Recordings of Live Sessions. So you can review the material delivered during the session.
Recordings can be downloaded by clicking the Download button.
b. Catalog
The Catalog section contains a list of available courses or classes currently being offered.
