(Admin) Program Code
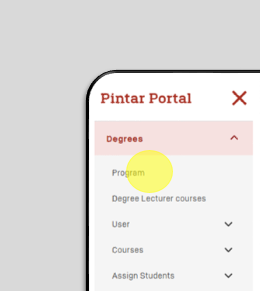
Program menu is used to create a program for new student admissions. To access the Program Menu, Admin can click Program
Then the program that is available/already running will appear like this:
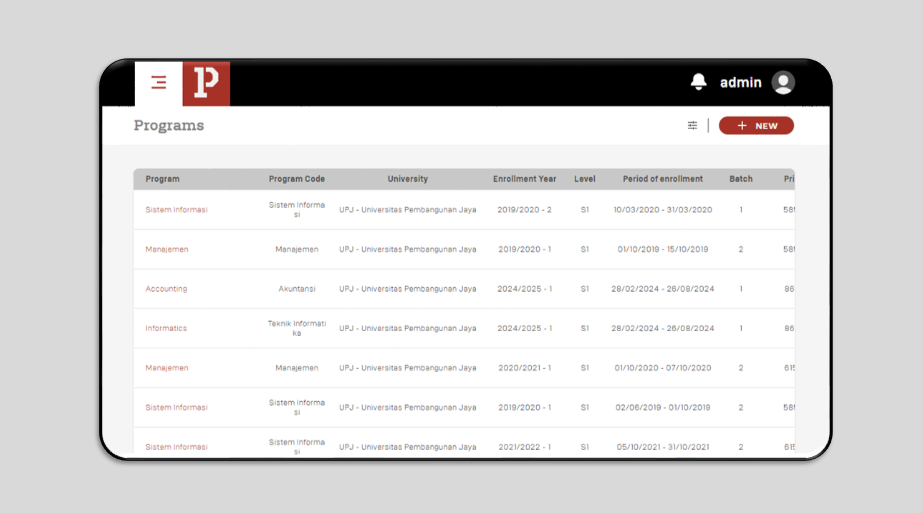
To make it easier for Admin to search for programs, Admin can click the Filter Icon on the right top.
Admin can fill in according to the program that Admin wants to find, then click Apply.
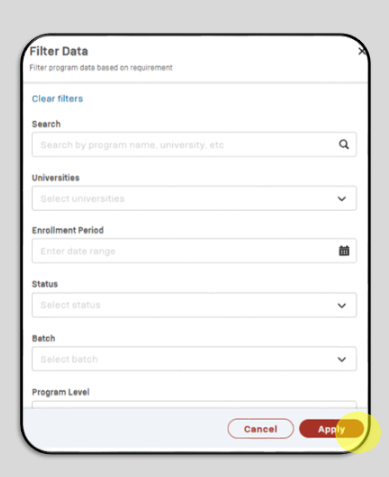
Then the program that Admin is looking for will appear.
However, if the Admin wants to create a new program for new students, the Admin can click +New
The admin can fill in General Information according to the program that the administrator wants to create.
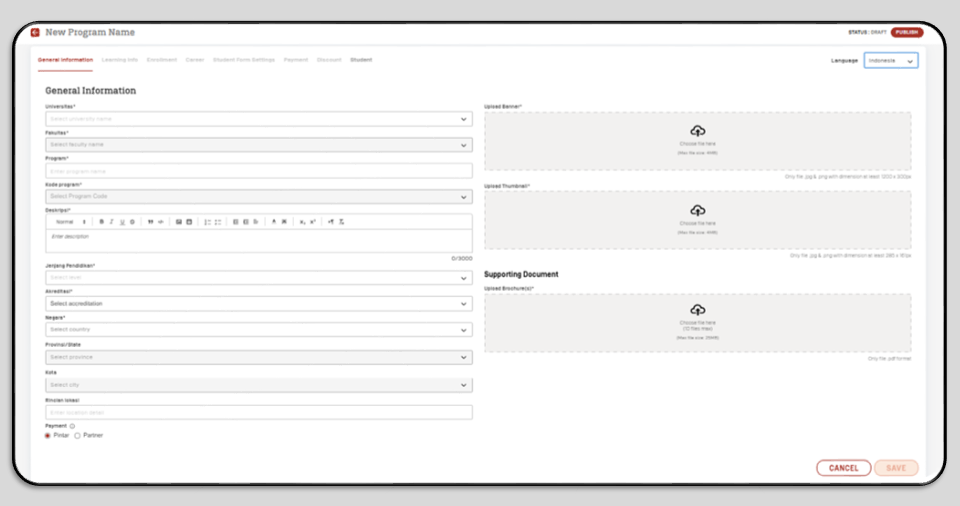
General Information includes :
- University : Select the university for which the program is being created.
- Faculty : Select the relevant faculty.
- Program : Enter the name of the program to be created.
- Program Code : Choose the appropriate program code.
- Description : Provide details about the program.
- Education Level : Select the appropriate education level.
- Accreditation : Choose the accreditation level for the program.
- Country : Select the country where the university is located.
- Province : Choose the province according to the university’s location.
- City : Select the city where the university is located.
- Location Details : Enter the full address of the university.
- Payment : Select PINTAR.
After everything is filled in, Admin is also required to upload Banners, Thumbnails and Brochures. Then click Save.
If the Admin has clicked Save, the Program has been created, but the Admin still has to complete some more data such as Learning Info.
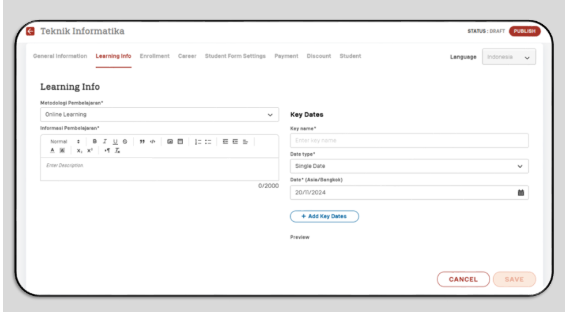
Learning Info contains :
- Learning Method : Choose the learning method according to the program created
- Learning Information : Write down information related to learning
- Key Name : Write down the keywords of the program creation
- Date Type : Select the Date Type according to the program creation
- Range : Set the date according to the opening of the program
After everything is filled in, Click Save, then the Admin can complete the data in the Enrollment section.
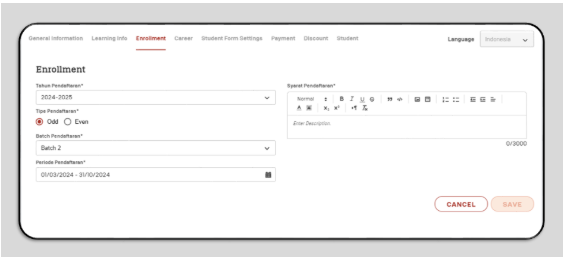
Enrollment contains :
- Enrollment Year : Select the registration year according to the opening of the Program
- Enrollment Type : Select the enrollment type (Odd for Odd and Even for Even)
- Enrollment Batch : Select batch
- Enrollment Period : Specify the registration period
- Enrollment Requirements : Write down the registration requirements
After everything is filled in then Click Save, then the Admin can complete the data in the Career section.
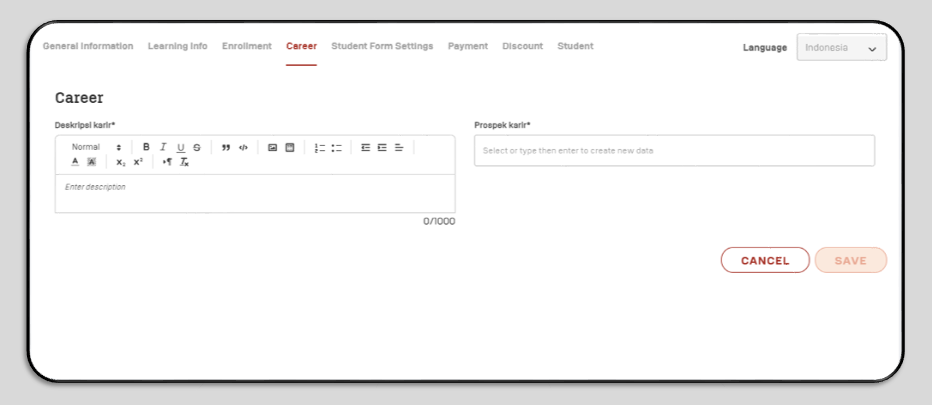
Career contains:
- Career Description: Write the career objective of the program
- Career Prospects: Choose several career prospects according to the program created
After the Career section is filled in, Admin can click Save. Then Admin can proceed to the Student Form Setting section.
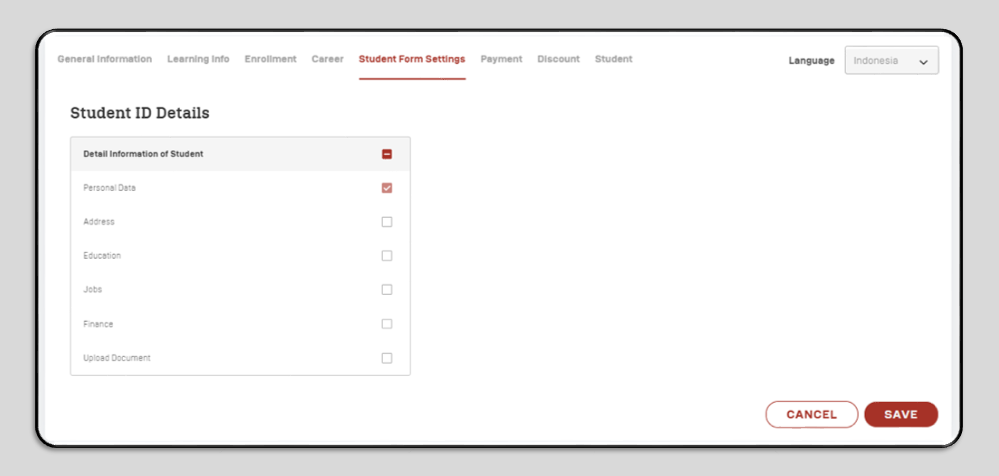
The Admin can select the required data fields from prospective applicants. After making the selections, the Admin clicks Save and proceeds to the Payment section.
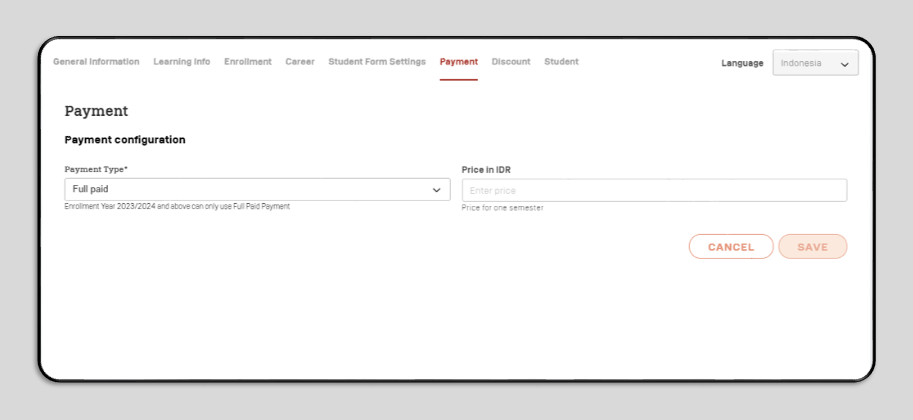
In the Payment section, Admin can fill in:
- Payment Type: Select payment type
- Price in IDR: Write down the cost to register for the Program
Then Admin can click Save and proceed to the Discount section.
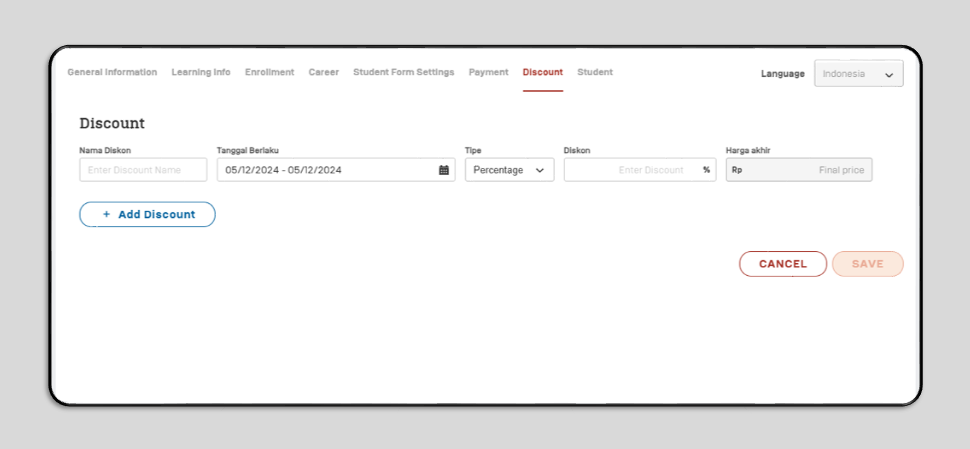
This discount is optional, if Admin wants to create a discount for the Program that Admin created, then Admin must fill in:
- Discount Name : Write down the name of the discount
- Effective Date : Specify the valid date of the discount
- Type : Select the discount type
- Discount : Write down the discount percentage
- Final Price : Write down the final price after discount
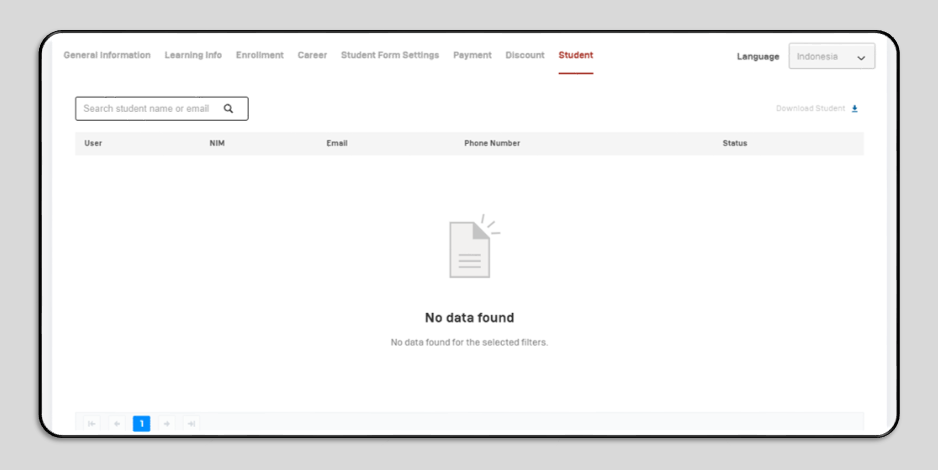
Then the Admin can click Save and the Program is finished, but the Student section will be filled in if someone has registered.
