Courses
In the Courses feature there are several Menus in it, as attached to the following image:
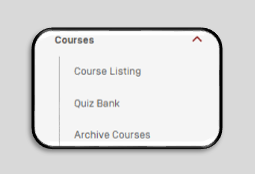
1. Course Listing
Course Listing contains Courses that are already running, to make it easier for Admin to find Courses, Admin can Click Filter.
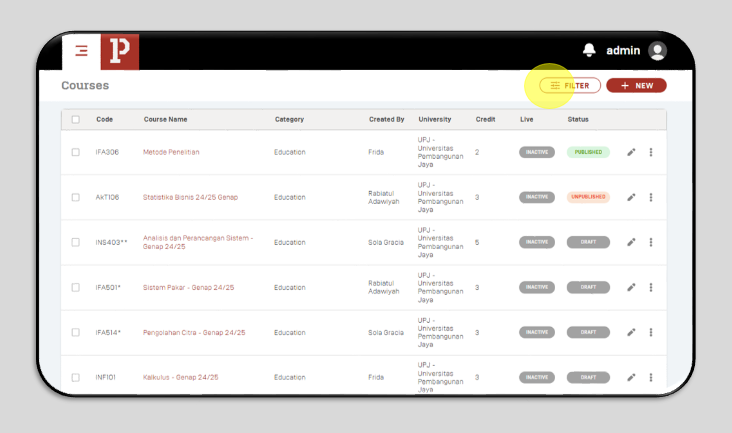
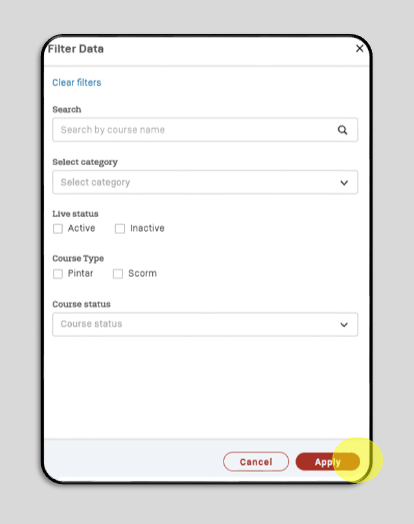
Fill in the Course that the Admin wants to find then, Click Apply.
Admins can also create new courses using this menu by clicking +New
Then the Admin can fill in a several items as shown below :
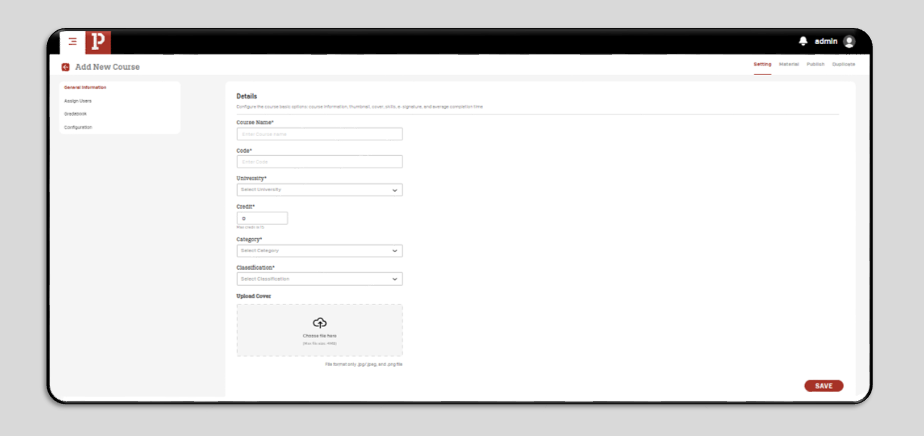
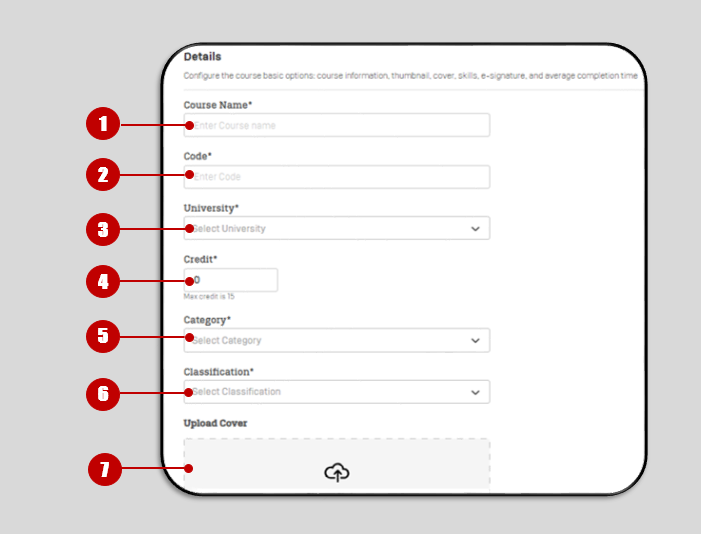
- Course Name : Write the name of the course that will be created.
- Code : Write down the course code that will be created.
- University : Select the University for the course to be created.
- Credit : Write down the Semester Credit Units (SKS) of the course to be created.
- Category : Choose the category of the course to be created.
- Classification : Select the classification of the course to be created.
- Upload Cover : Upload the cover of the course to be created, after everything is filled in the Admin can click SAVE.
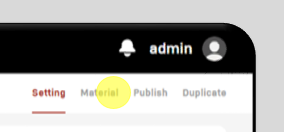
After the course has been created, Admin can add Material to the course. Click Material
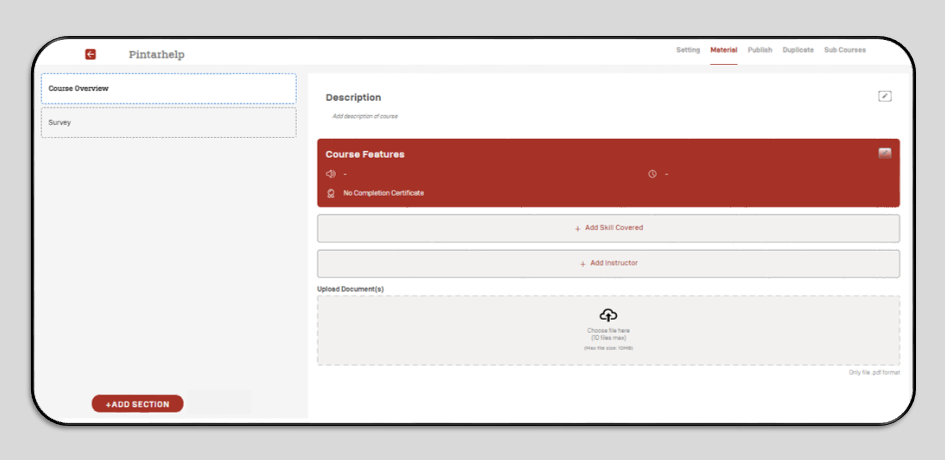
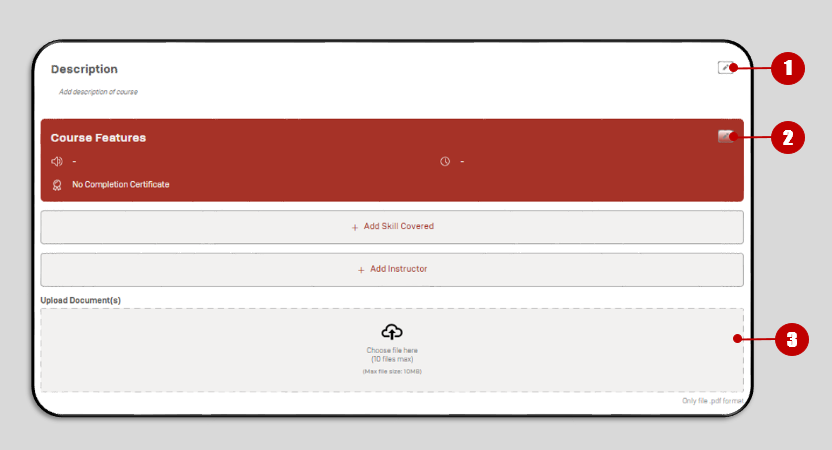
- Description : Click the Pencil Icon and write the description of the course.
- Course Features : Click the Pencil Icon, then select the language and. Click Save.

- Upload Document : Upload the course syllabus
After that, Admins can add Sessions for courses by clicking +ADD SECTION on the bottom left.
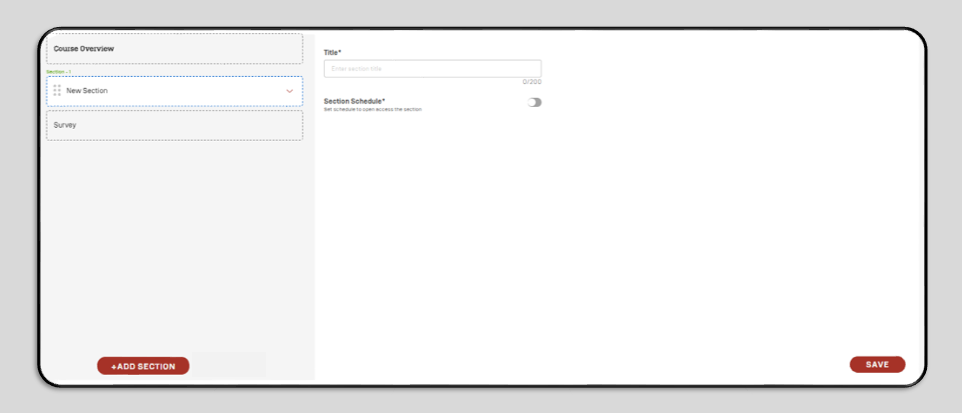
Write the title of the material session then click Save. Admins can add materials by clicking +Add Content
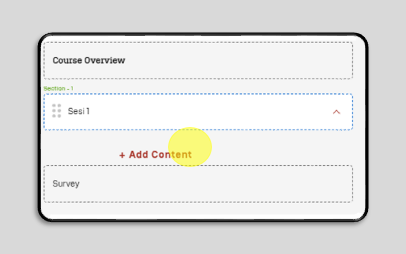
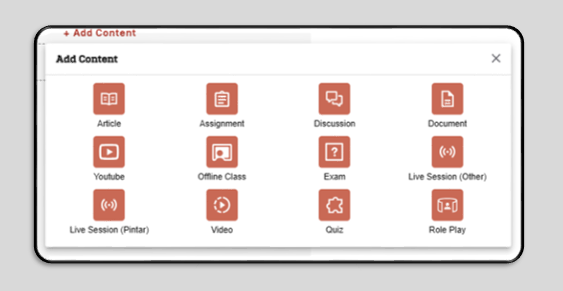
Select Content material that will be uploaded to the course.
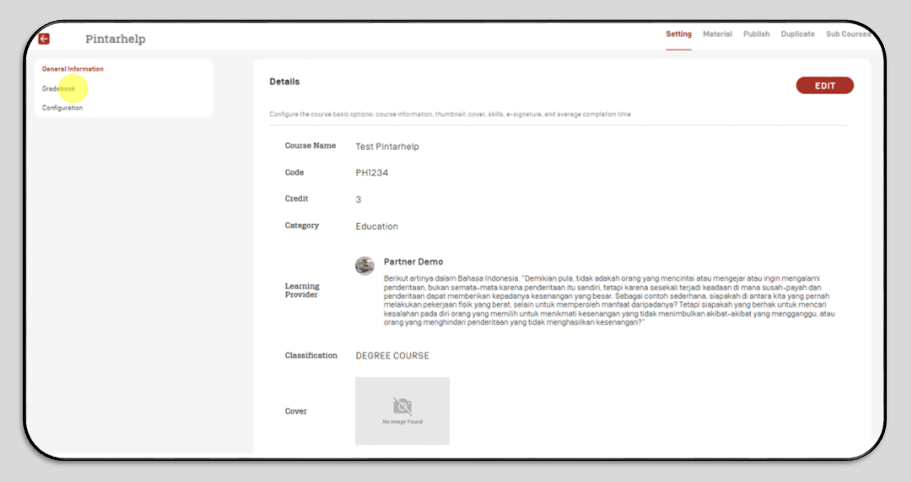
Admin can create several Sessions according to the Course syllabus. To enter the Value Weight, the Admin can return to the settings section then click Gradebook
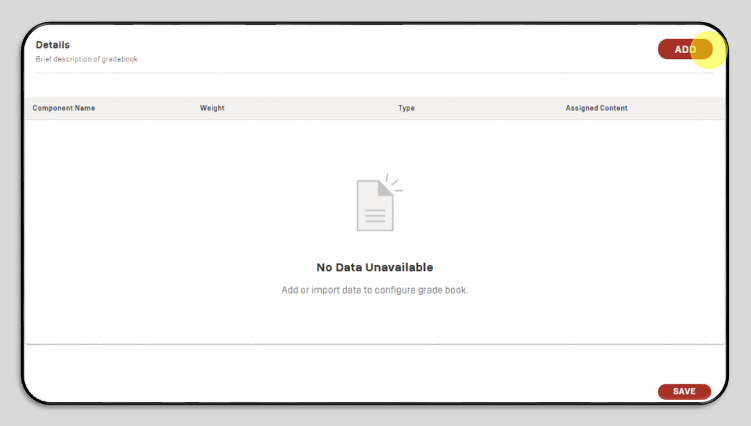
Click ADD
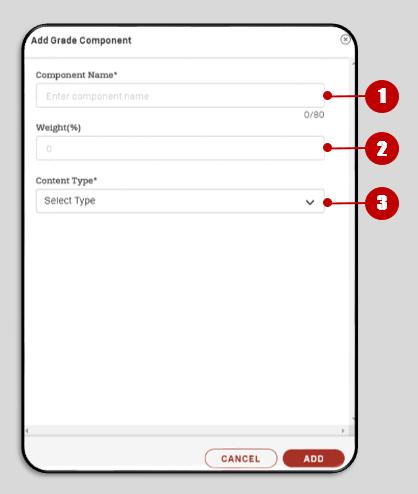
- Component Name : Value weight name
- Weitht(%) : Value weight in percentage
- Content Type : Select the content that becomes the value weight, then Click ADD
Admins can also set configurations by clicking Configuration
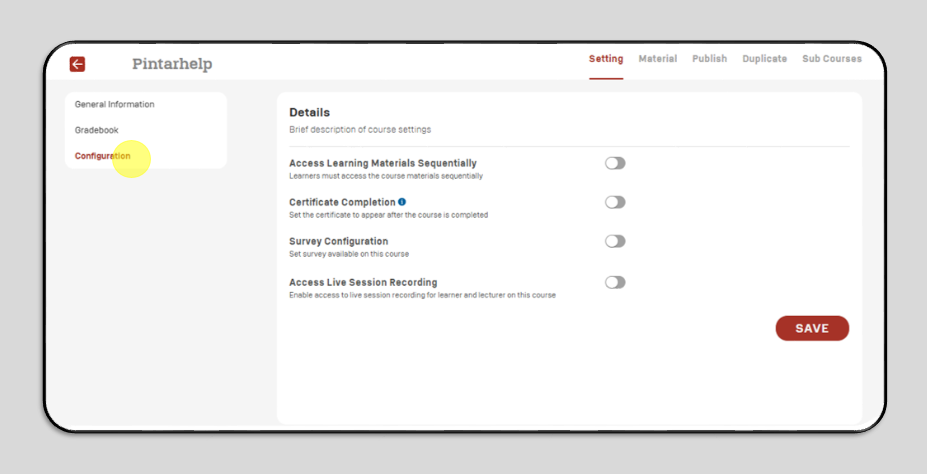
Select any settings for the course then click Save.
Once everything is set, the course can be processed for the next step.
2. Quiz Bank
This Quiz Bank menu exists to simplify Admin in entering Quiz into LMS.
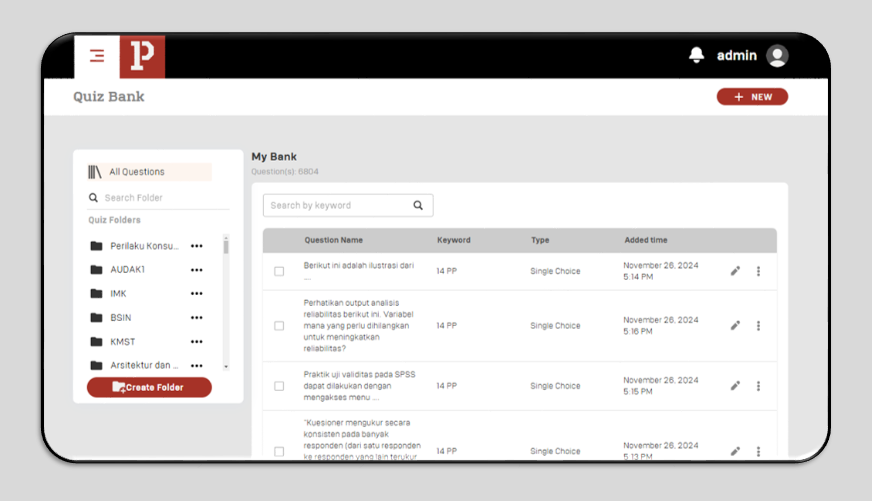
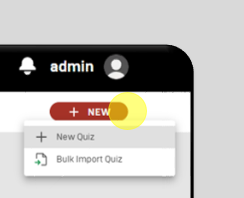
Admin can create a new Quiz Bank by clicking +NEW and selecting +New Quiz.
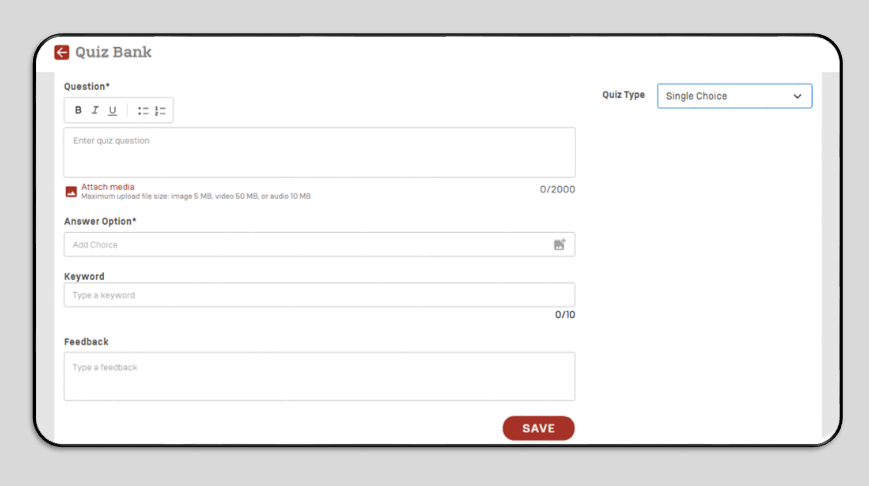
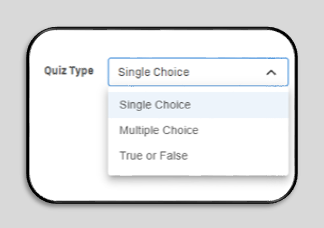
Admin can select the Quiz Type according to the Quiz to be created.
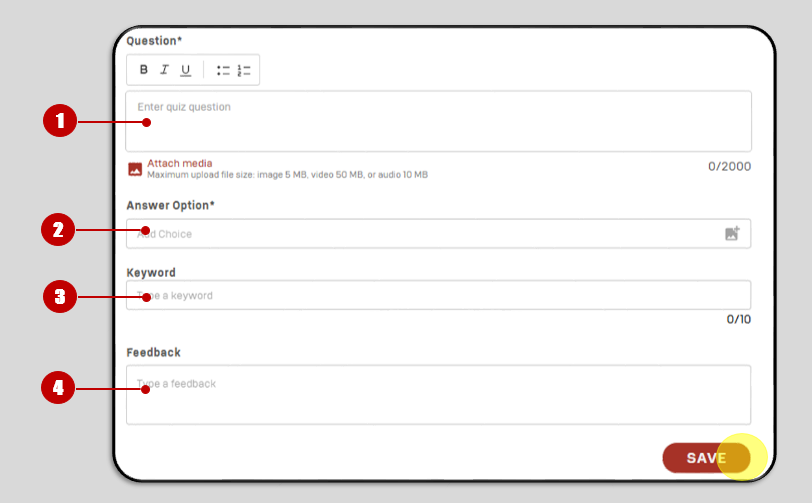
Fill in the form as follows:
- Question : Fill in the Quiz questions
- Answer Option : Fill in the right quiz answer
- Keyword : IFill in keywords to make it easier when searching for Quiz
- Feedback : Fill in the feedback (optional, can also be left blank), then click save
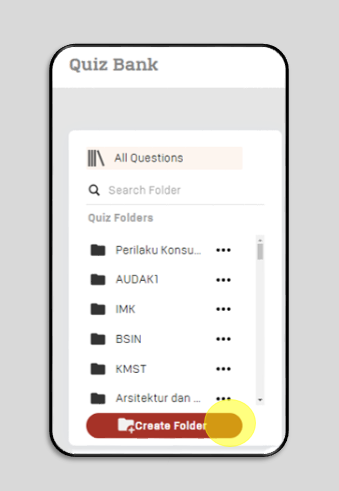
Furthermore, if the Admin wants to create a Quiz folder according to the existing material click Create Folder
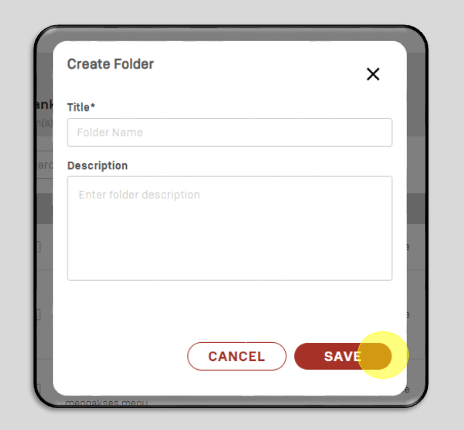
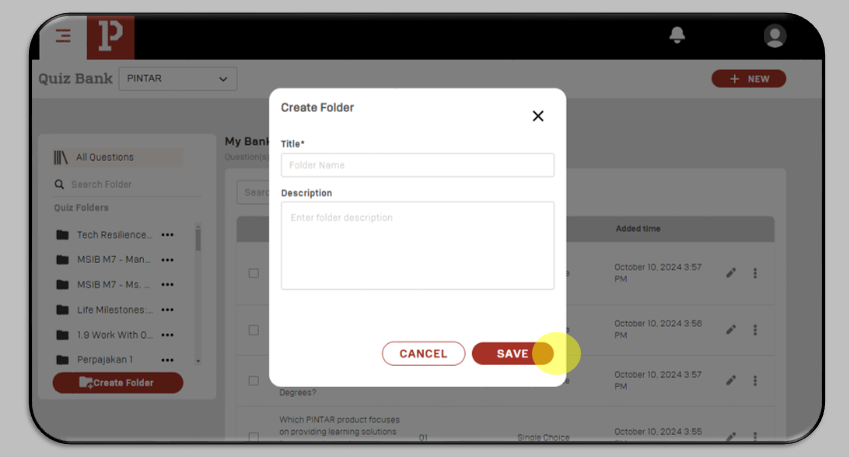
Fill int the Title and Description, then click save.
3. Archive Course
Archive Course is used to archive the Course.
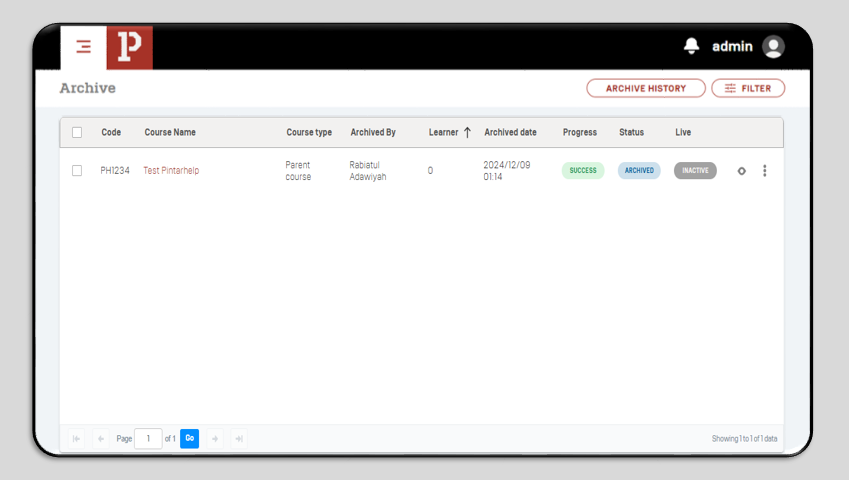
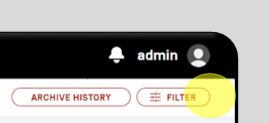
To make it easier for Admins to search for archived courses, Admins can click FILTER.
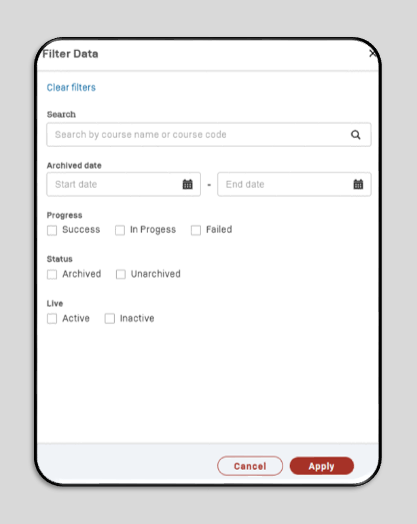
Admin can search by course name, then Admin can click Apply.
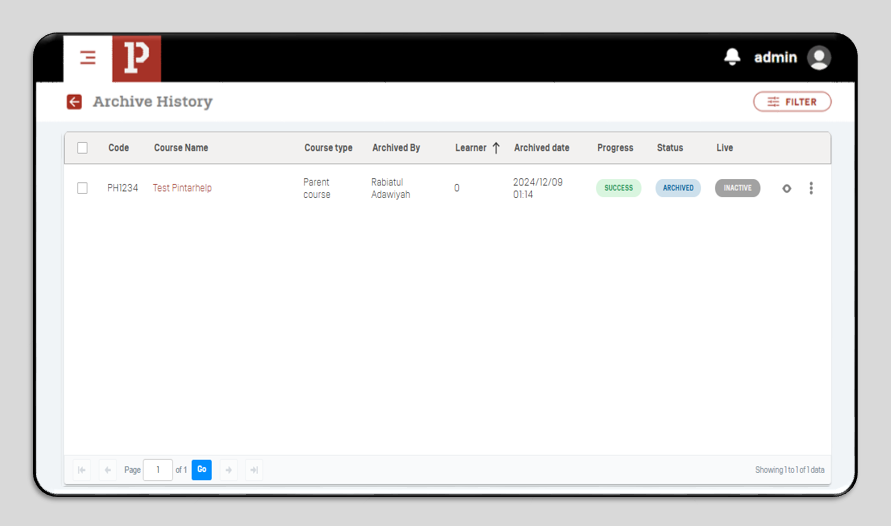
To see the history of the Archive Course, Admin can click Archive Course.
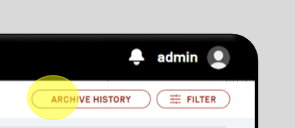
Then a history will appear like this :
