Product
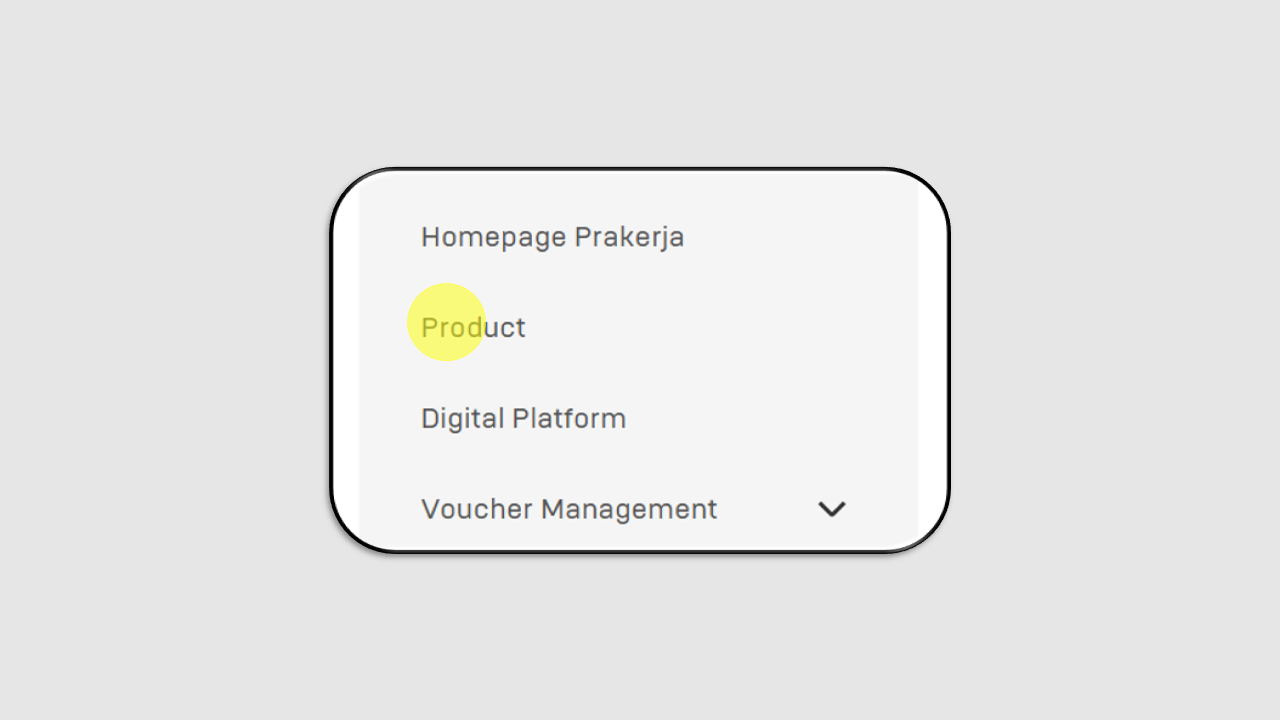
You can click on the Product menu in Prakerja.
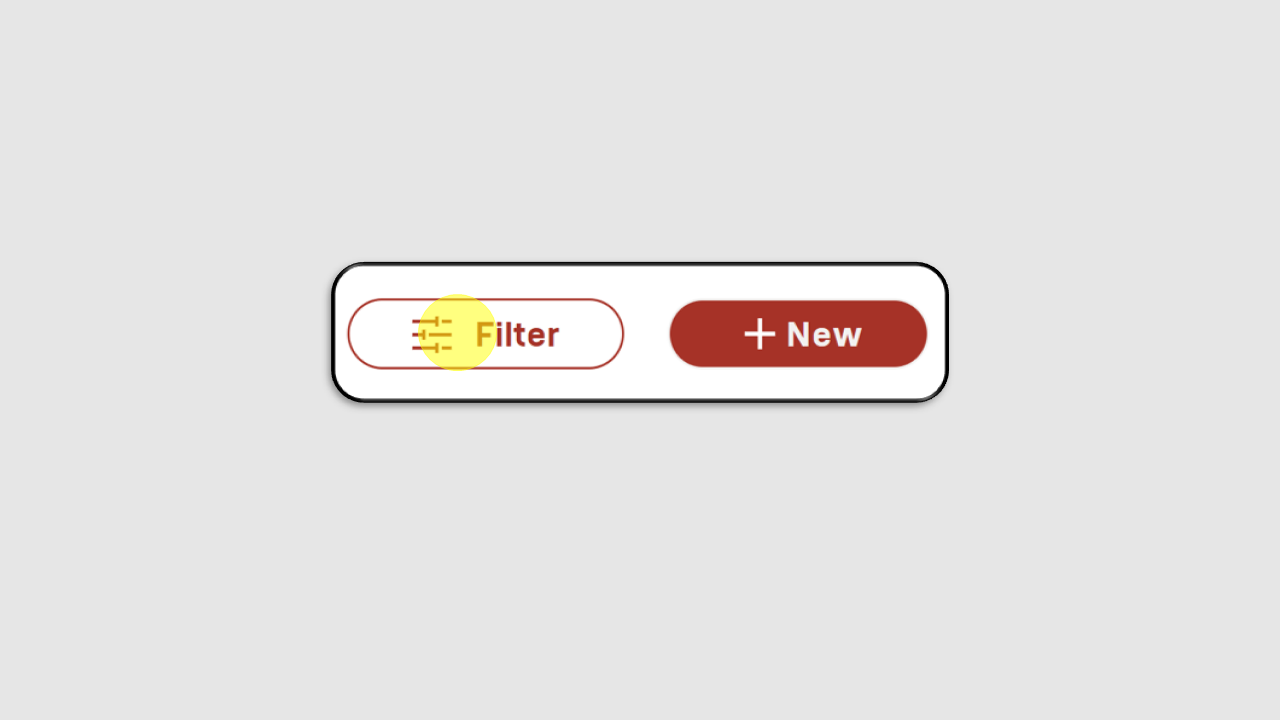
To make it easier to search for Prakerja Products, you can click the Filter Icon located in the top right corner.
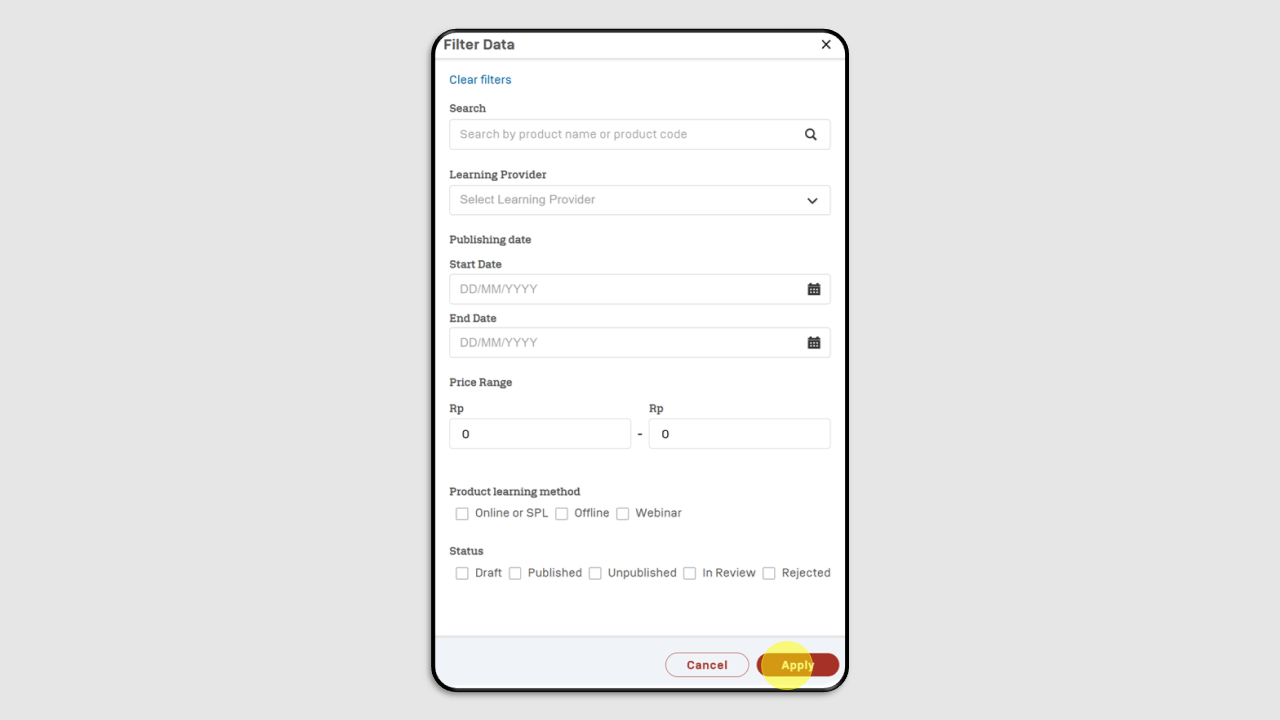
Fill in the fields based on the Product you are looking for, then click Apply.
To create a new Product, click +New.
1. How to Fill in General Information Section
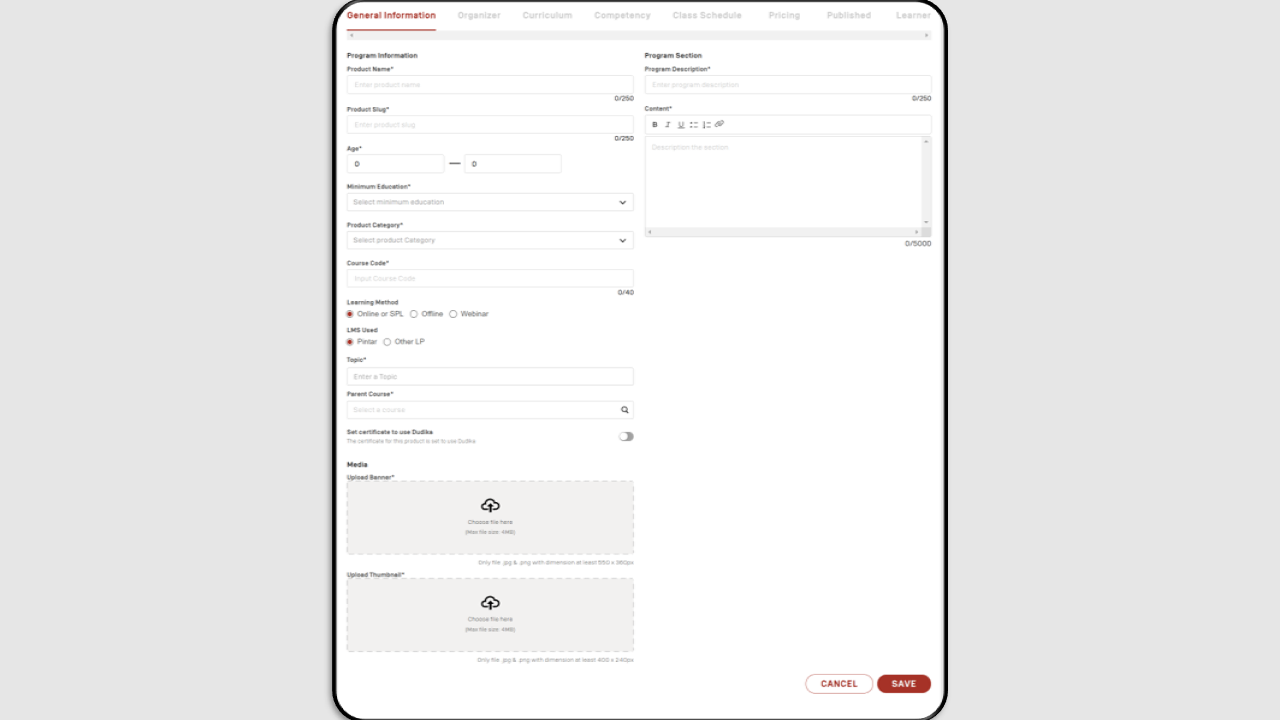
1 Product Name : Fill in according to the training title.
2 Product Slug : This section will be automatically filled after the admin inputs the product name.
3 Program Description : Fill in the title. Admins can add the word Learn at the beginning of the sentence and With Us at the end. *(Example: Learn Time Management Strategies With Us.)*
4 Content : Fill in the information related to the description, evaluation methods, training methods, attendance methods, types/classifications of certificates, and participant terms and conditions. If the course uses an Luring mode, add the detailed course venue name.
5 Age : Fill in the age requirements for participants attending the training.
6 Minimum Education : Fill in the minimum education requirement for each training. If the minimum education is elementary/middle school, select All Education Backgrounds..
7 Product Category : Select the product category that matches the course.
8 Course Code : Enter the course code according to the training title abbreviation.
9 Learning Method : Select the learning method.
10 LMS Used : Choose the LMS used, whether it is LMS Pintar or another platform..
11 Topic : Select the appropriate topic for the training; one or more topics can be chosen.
12 Parent Course : Select the first course created that contains the training title.
13 Upload Banner dan Thumbnail : Upload the banner and thumbnail for the training. Ensure the banner and thumbnail sizes comply with the requirements.
If all sections are filled in correctly and appropriately, click Save.
2. How to Fill in Organizer Section
Klick the Edit menu.
You can fill in the following data:
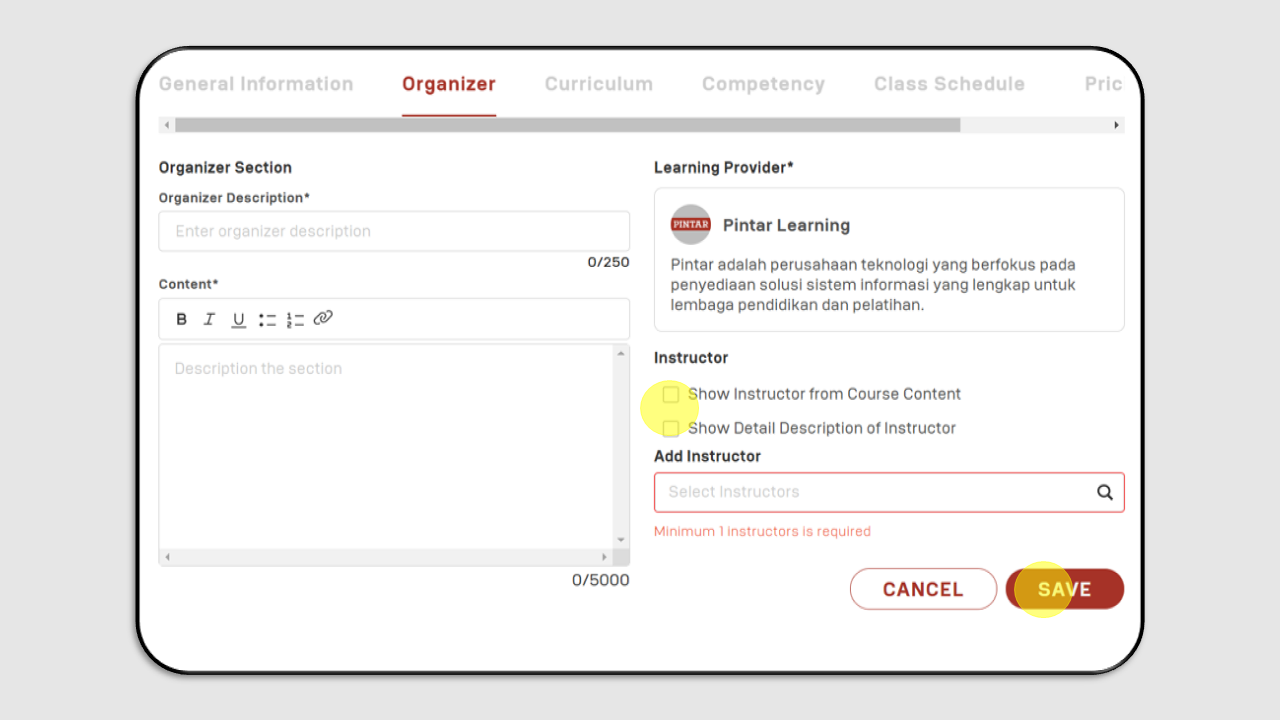
- Organizer Description : Fill the name of the learning provider to be used.
- Content : Fill the description of the learning provider to be used.
- Instructor : Check both available boxes.
- Add Instructor : Select one instructor for the training you created.
If the data entered is correct and appropriate, click Save.
- How to Fill in Curriculum Section
Click Edit at the top right corner.
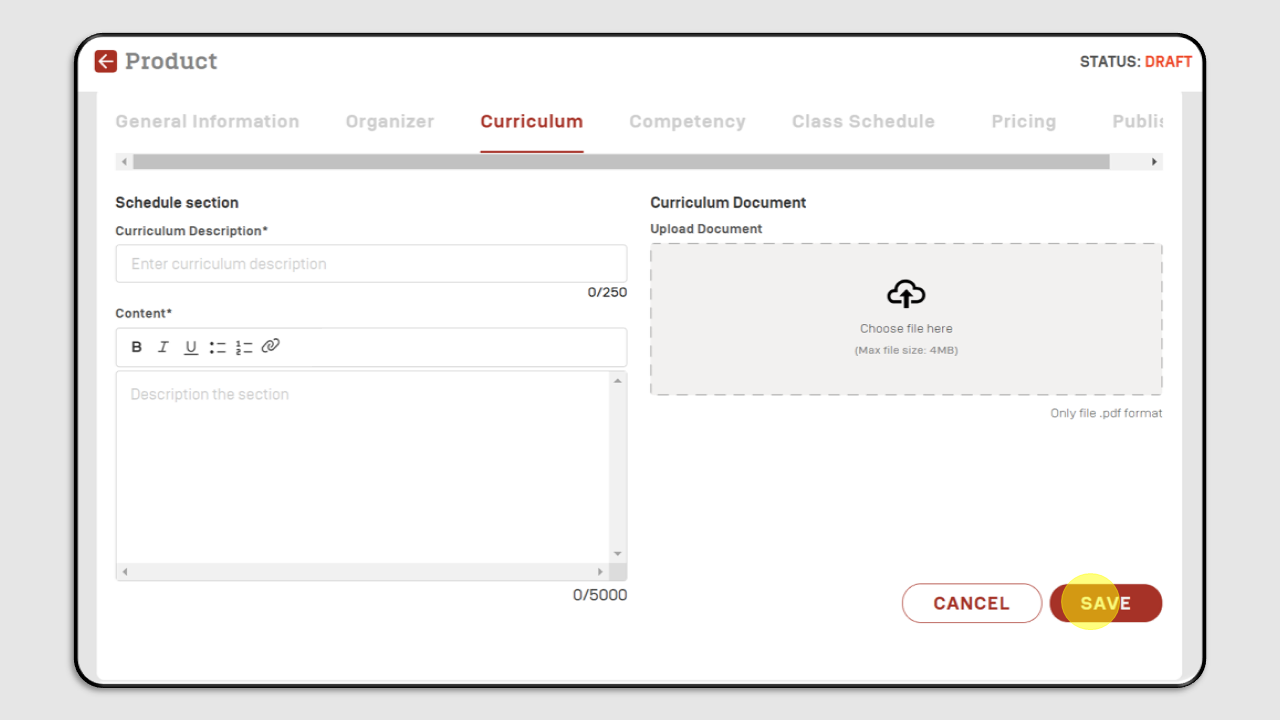
Schedule Section
- Content : Fill in according to the training title.
- Curriculum Document : You must provide the general objectives, specific objectives, competency aspects (knowledge, work attitude, and skills), topics, and training duration.
Data entry should refer to the RPP (Learning Program Plan).
If the data entered is correct, click Save.
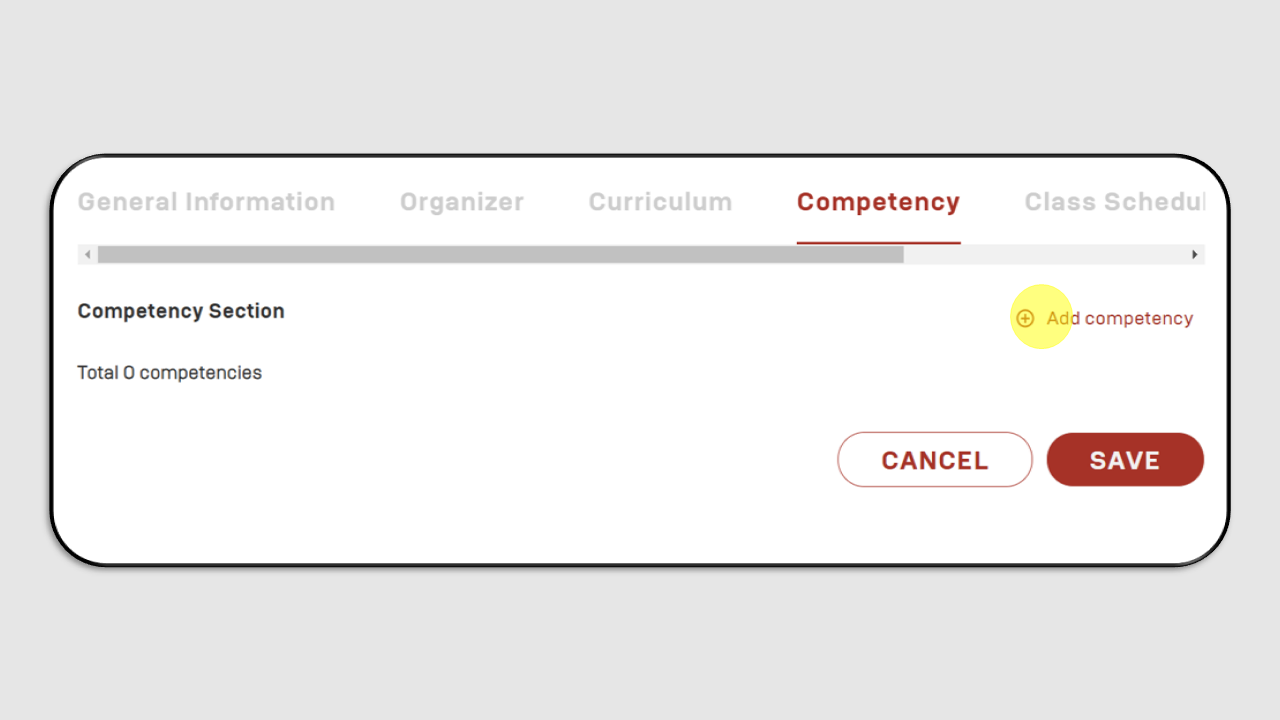
4. How to Fill in Competency section
- Click edit
- Add competency
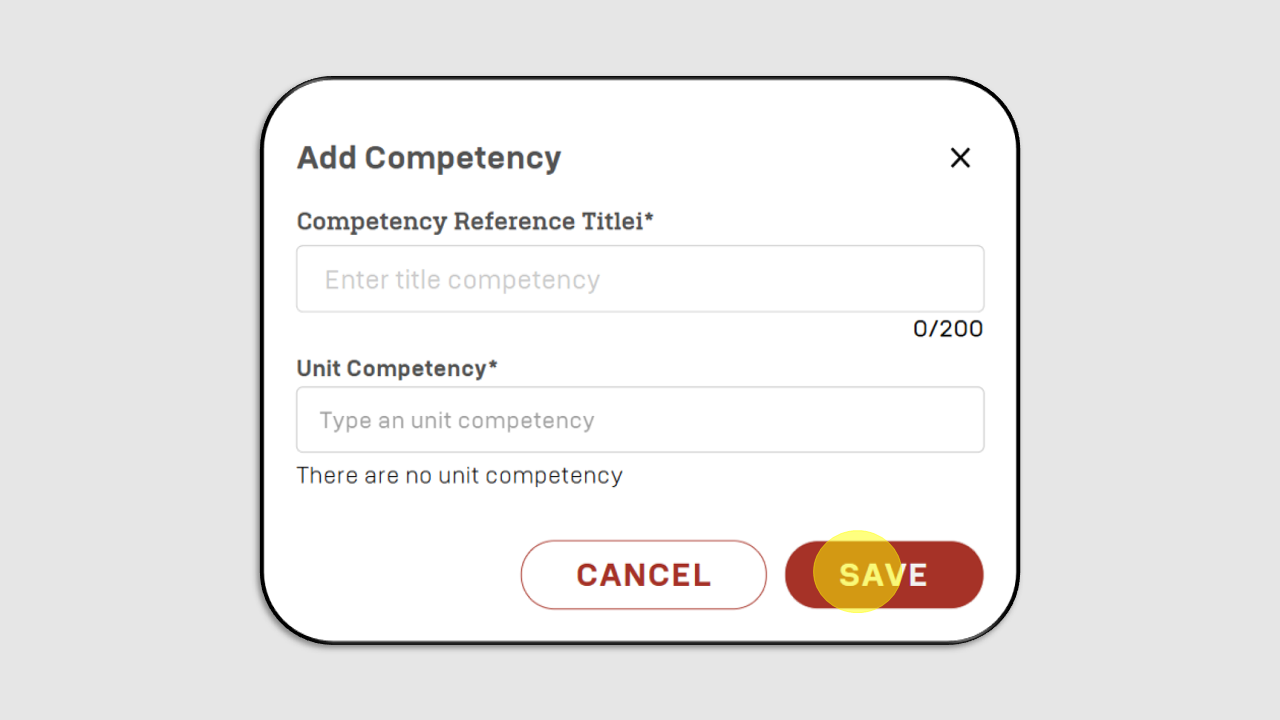
A popup will appear as follows:
- Competency Reference Title : Fill the competency reference title according to the RPP.
- Unit Competency : Fill the competency unit according to the RPP.
If the data entered is correct, click Save.
5. How to Fill in Class Schedule Section
You can fill in this menu once the schedule code has been provided by the PMO.
If the schedule code is available, click Edit and fill in the data :
Schedule section
- Schedule Description : Fill the title of the schedule code you want to create
- Content : Fill the title of the schedule code you want to create
- Batch : Add a batch that can be adjusted according to the schedule code you have.
To add a batch, click Add Batch*,* and the following screen will appear:
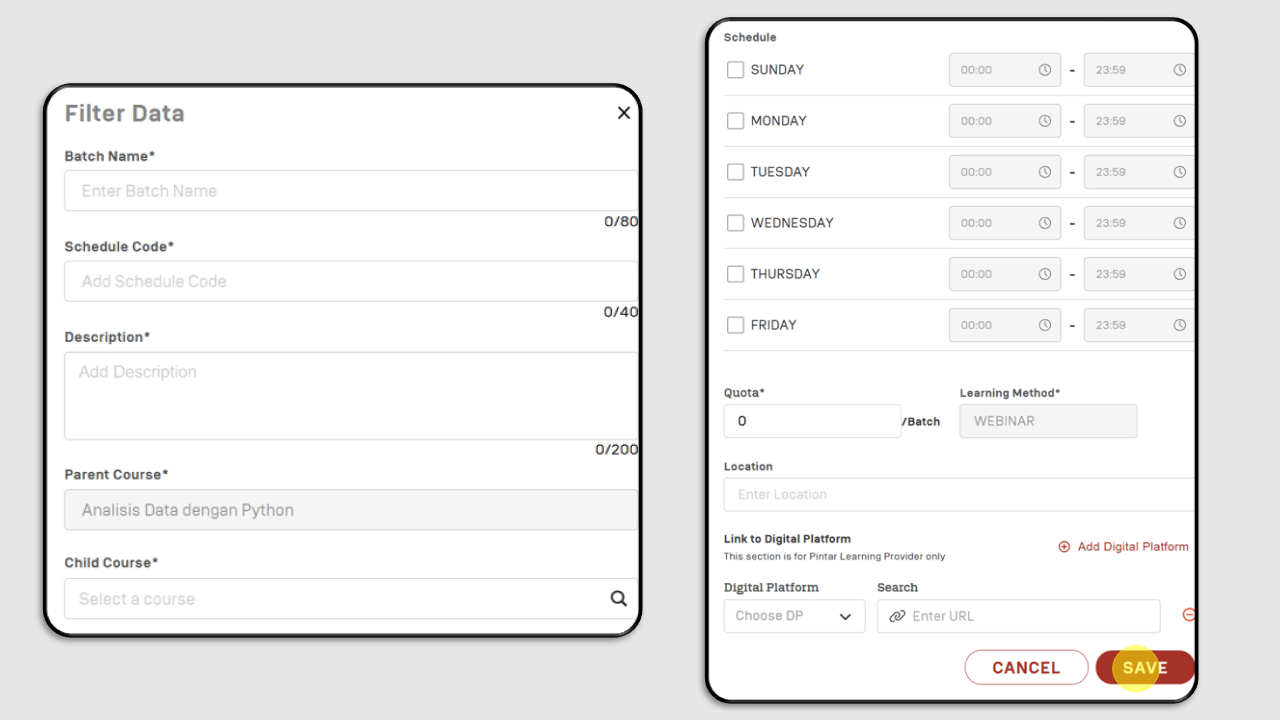
- Batch Name : fill the name of the batch you want to create.
- Schedule code : fill the schedule code provided by the PMO.
- Description : Provide information about the Prakerja class redemption terms.
- Parent course : iFill in according to the General Information.
- Child course : Select the course that has previously been duplicated with an added schedule in the title.
- Enroll period : Complete it according to the requirements Online D-1 enrollment completed
Offline D-2 enrollment completed
- Program Period : Enter the training schedule to be conducted. Check the days and enter the implementation time.
- Quota : Enter the quota available.
After the data entered is correct, click Save.
6. How to Fill in the Pricing Section
You can set the appropriate price for the training.
Click Save.

7. How to Publish the Product Page
Once all the data has been correctly entered, click Publish.
If the status is Draft*,* the product has not been published.
To publish the created product, click Submit to Pintar.
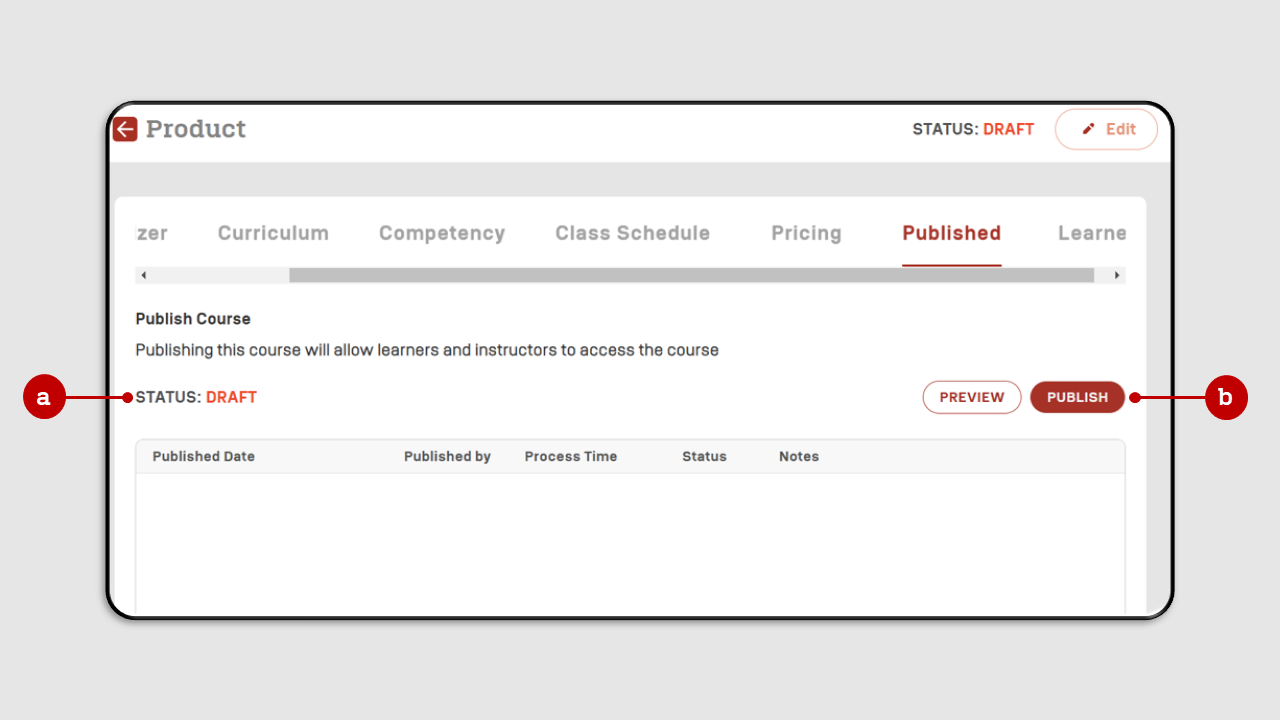
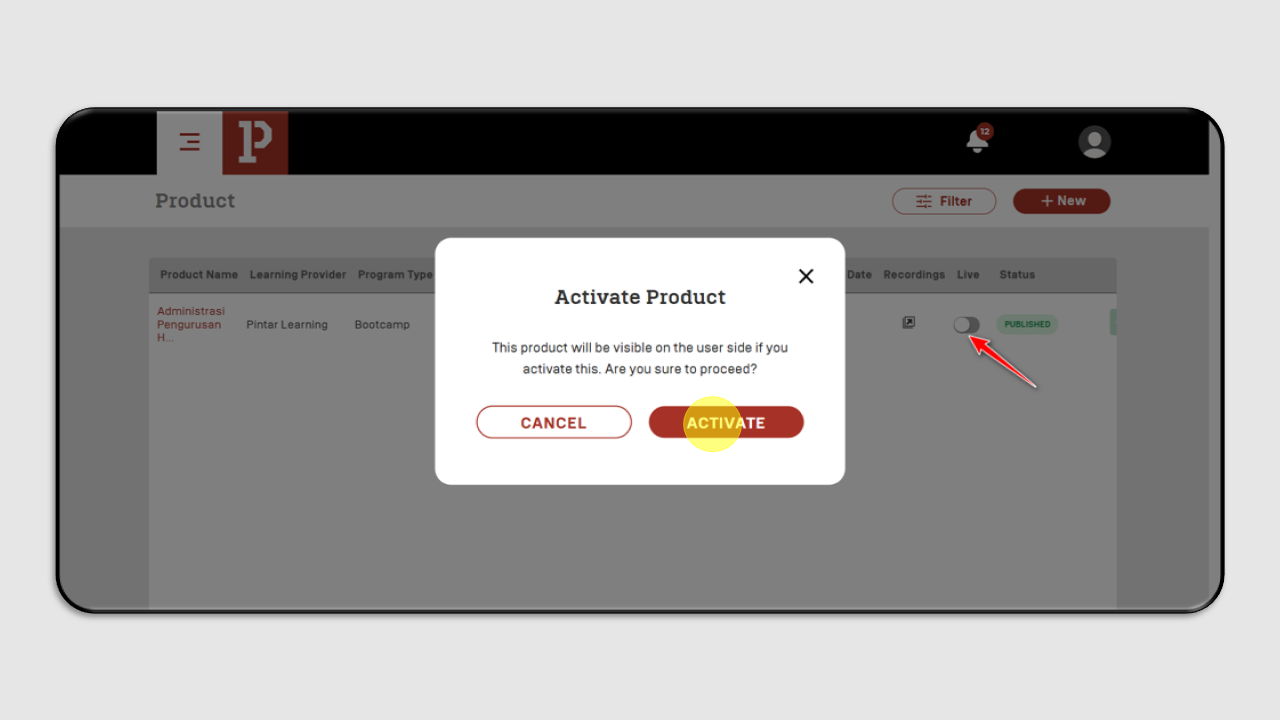
After publishing, the product page will be reviewed by the Pintar team. Once approved, activate the product page by switching it to Live and then Activate.
